 kage
kage
hypervibe.so
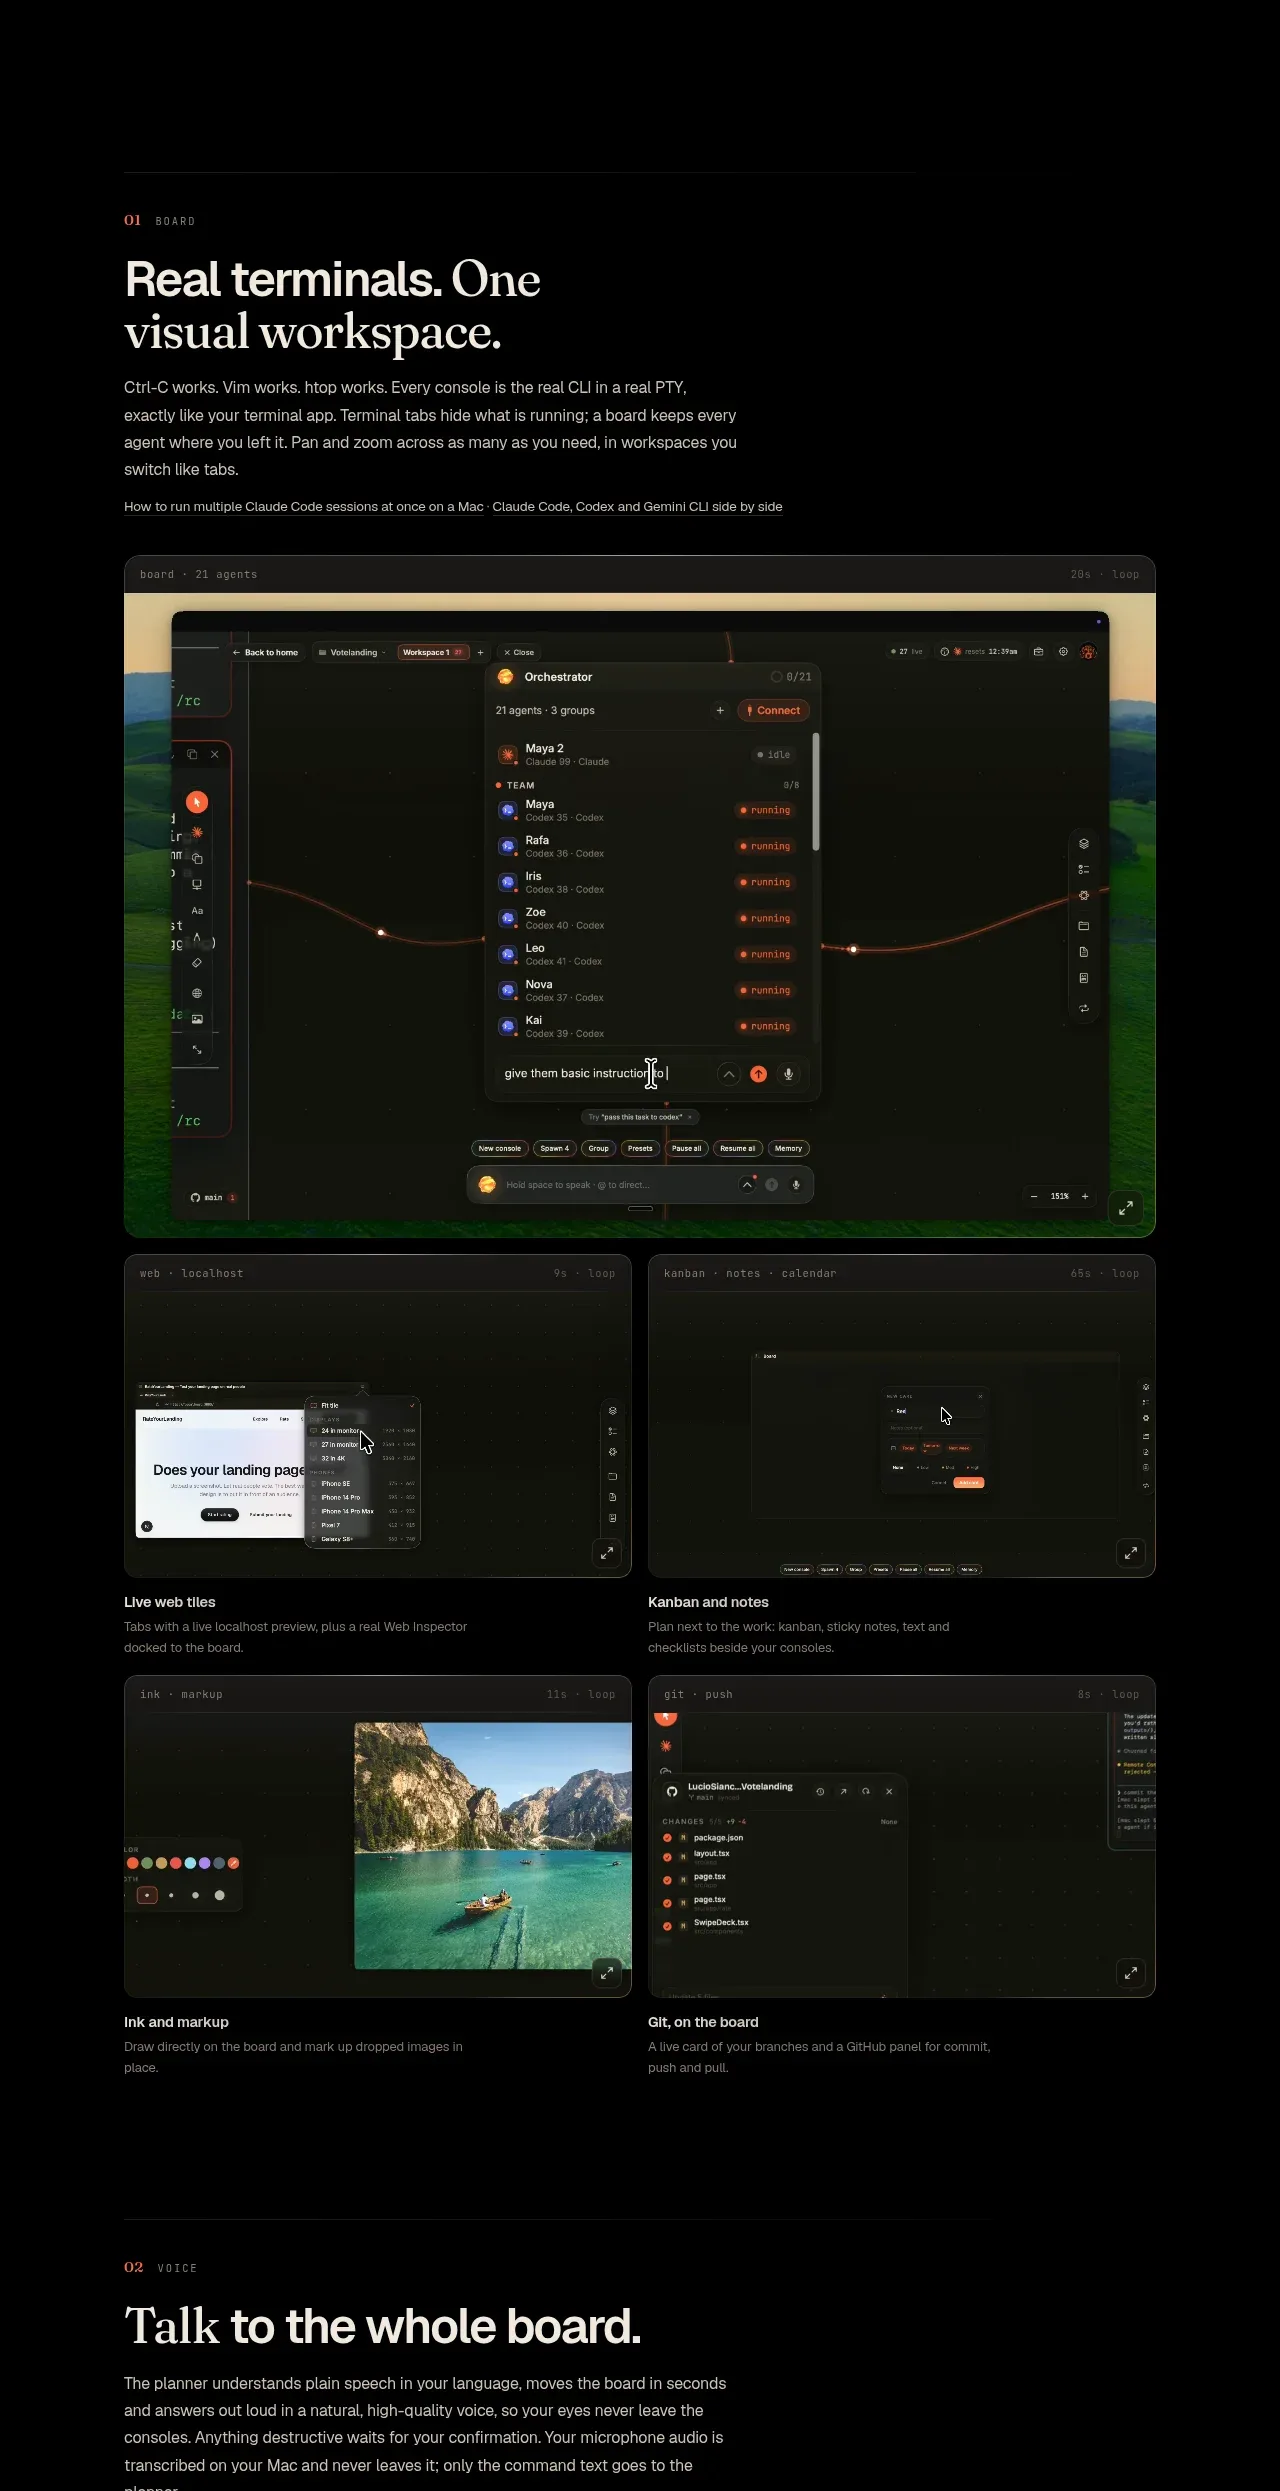
Design analysis
An overview section introduces the workspace concept, then uses one large visual and four smaller feature cards to explain concrete capabilities.
Prompt preview
## Reference images

Study these alongside the description below: hierarchy, rhythm, spacing, colour. Build for the product you are asked about, using this design language.

- Component: https://kage-design-assets.t3.tigrisfiles.io/components/hypervibe/0f025394-2dff-4c9b-be5f-8e394ec4a30f-1791699113-3.webp
- Full page it was cut from: https://kage-design-assets.t3.tigrisfiles.io/screenshots/hypervibe/0f025394-2dff-4c9b-be5f-8e394ec4a30f-1791699070438-full.webp
- Component on Kage: https://kage.design/component/hypervibe-feature-grid

## Before you start
Ask what the user's product's primary workflow is and which 4–6 capabilities best explain it. Ask whether real product screenshots are available, then apply the structure below with the user's assets.

Build a feature section with a small numbered eyebrow, a large left-aligned editorial heading, supporting paragraph, and a short explanatory line. Place one large rounded product visual spanning the content width, followed by a 2x2 grid of smaller visual feature cards. Each card should have a rounded screenshot or UI mockup above a concise title and one-sentence explanation. Use a black page background (#050505), near-black panels (#11120f), thin rgba(255,255,255,.10) borders, 12–16px radii, and muted gray supporting copy. Keep all visuals aligned to the same content rail, with 24–32px gaps and generous vertical breathing room. On mobile, stack the cards and preserve image aspect ratios.

### Never
- Never use logos, product names, copy, illustrations, or imagery from the reference.
- Never copy the reference screenshots or feature labels.
- Never make every card equally prominent; establish one clear primary capability.
More components
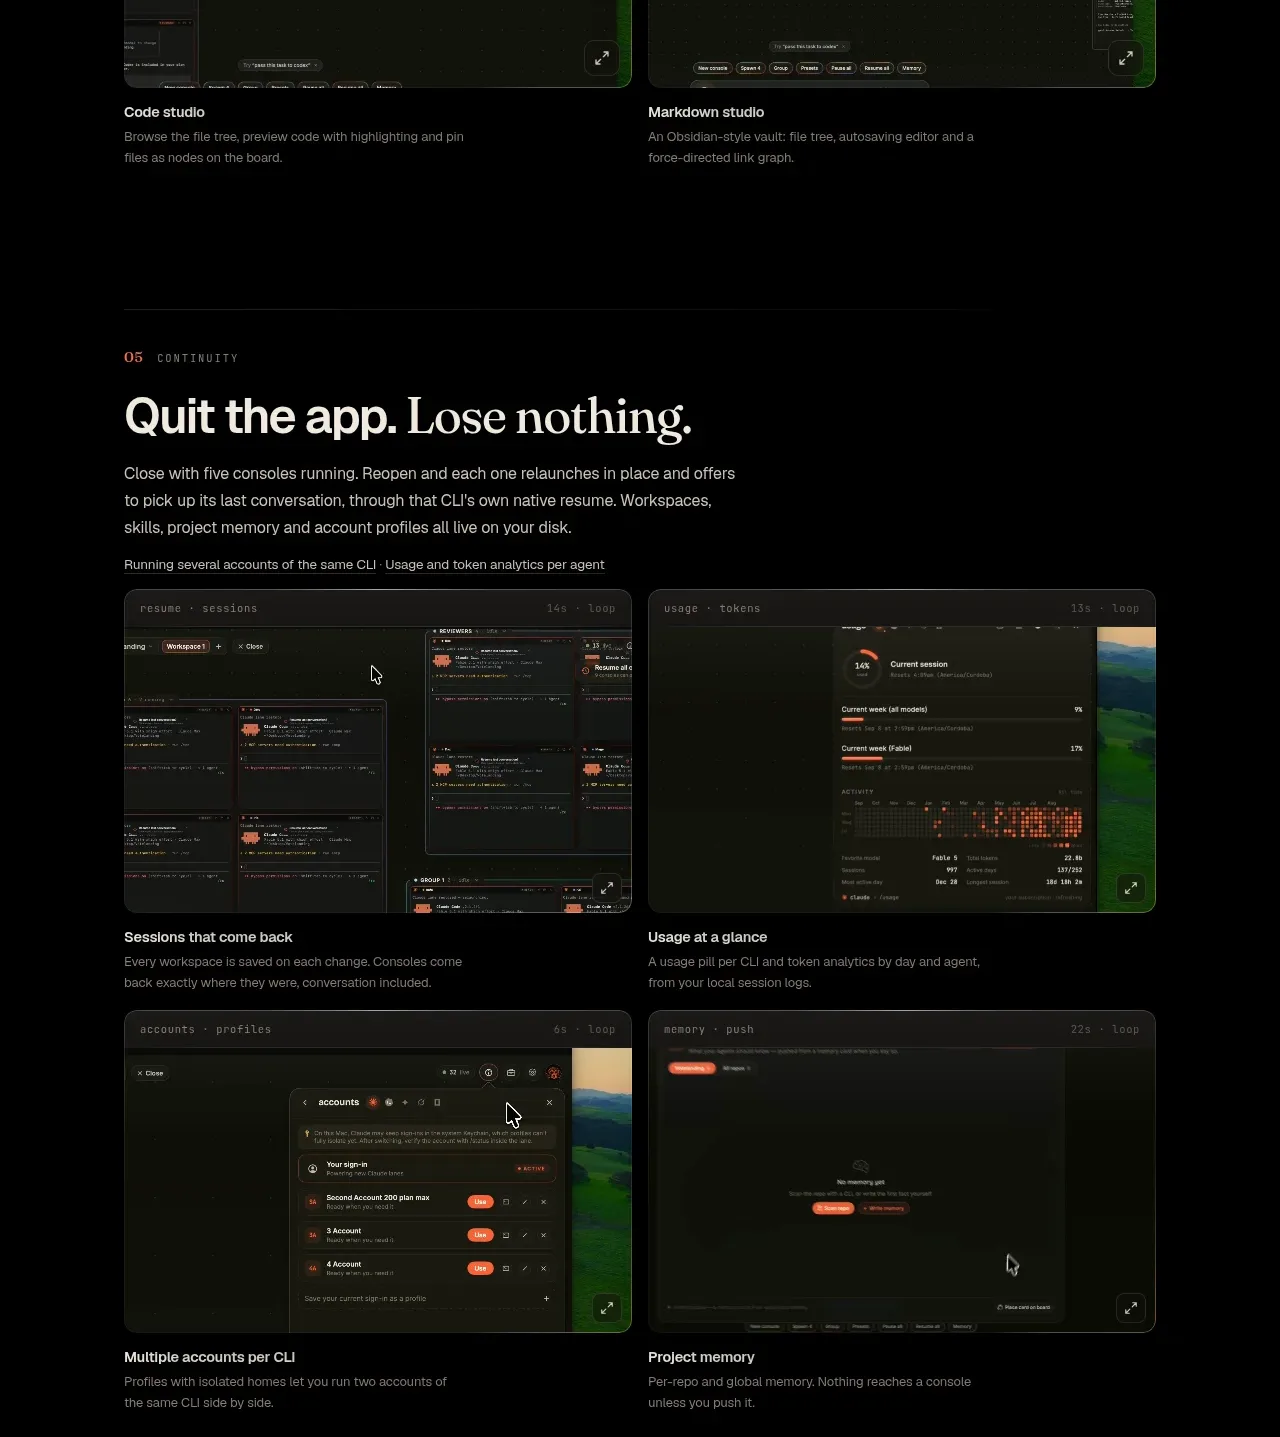
 Continuity and memory grid
Hypervibe · Feature grid
Continuity and memory grid
Hypervibe · Feature grid
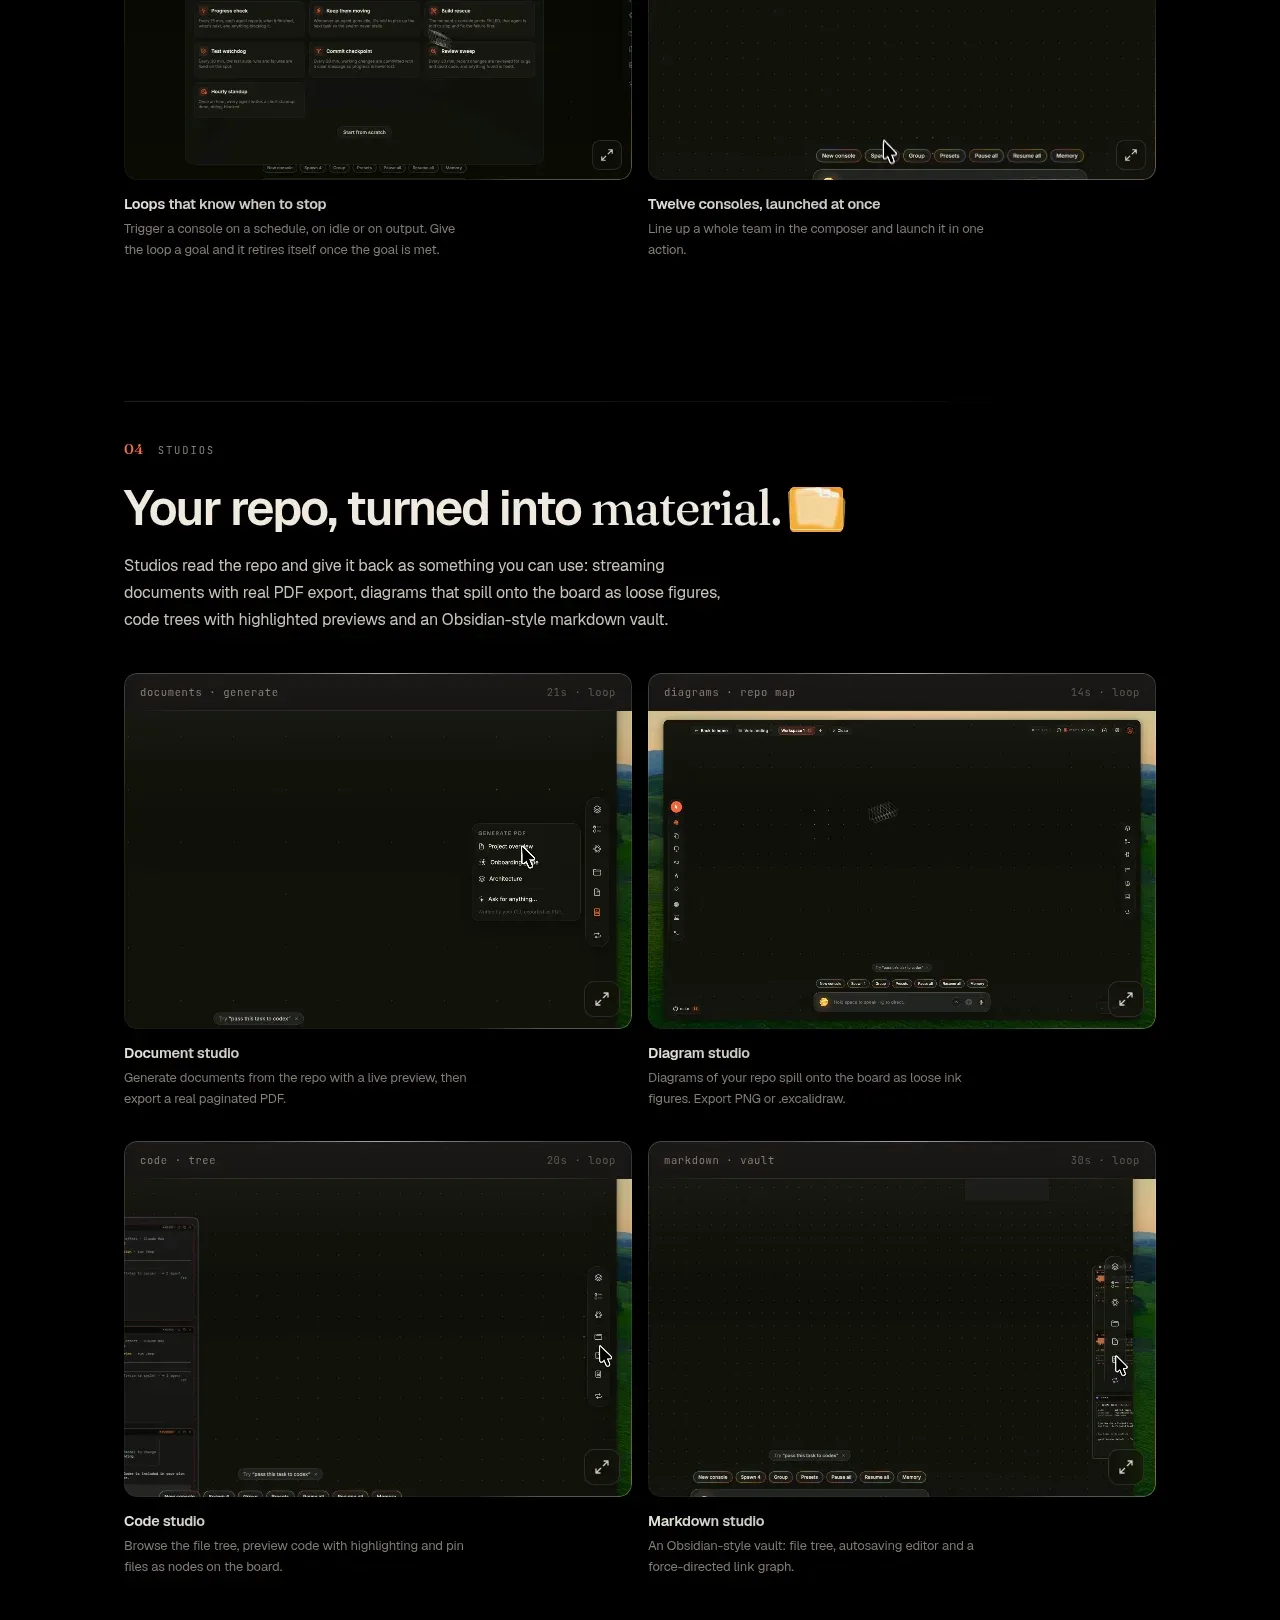 Studios and output grid
Hypervibe · Feature grid
Studios and output grid
Hypervibe · Feature grid
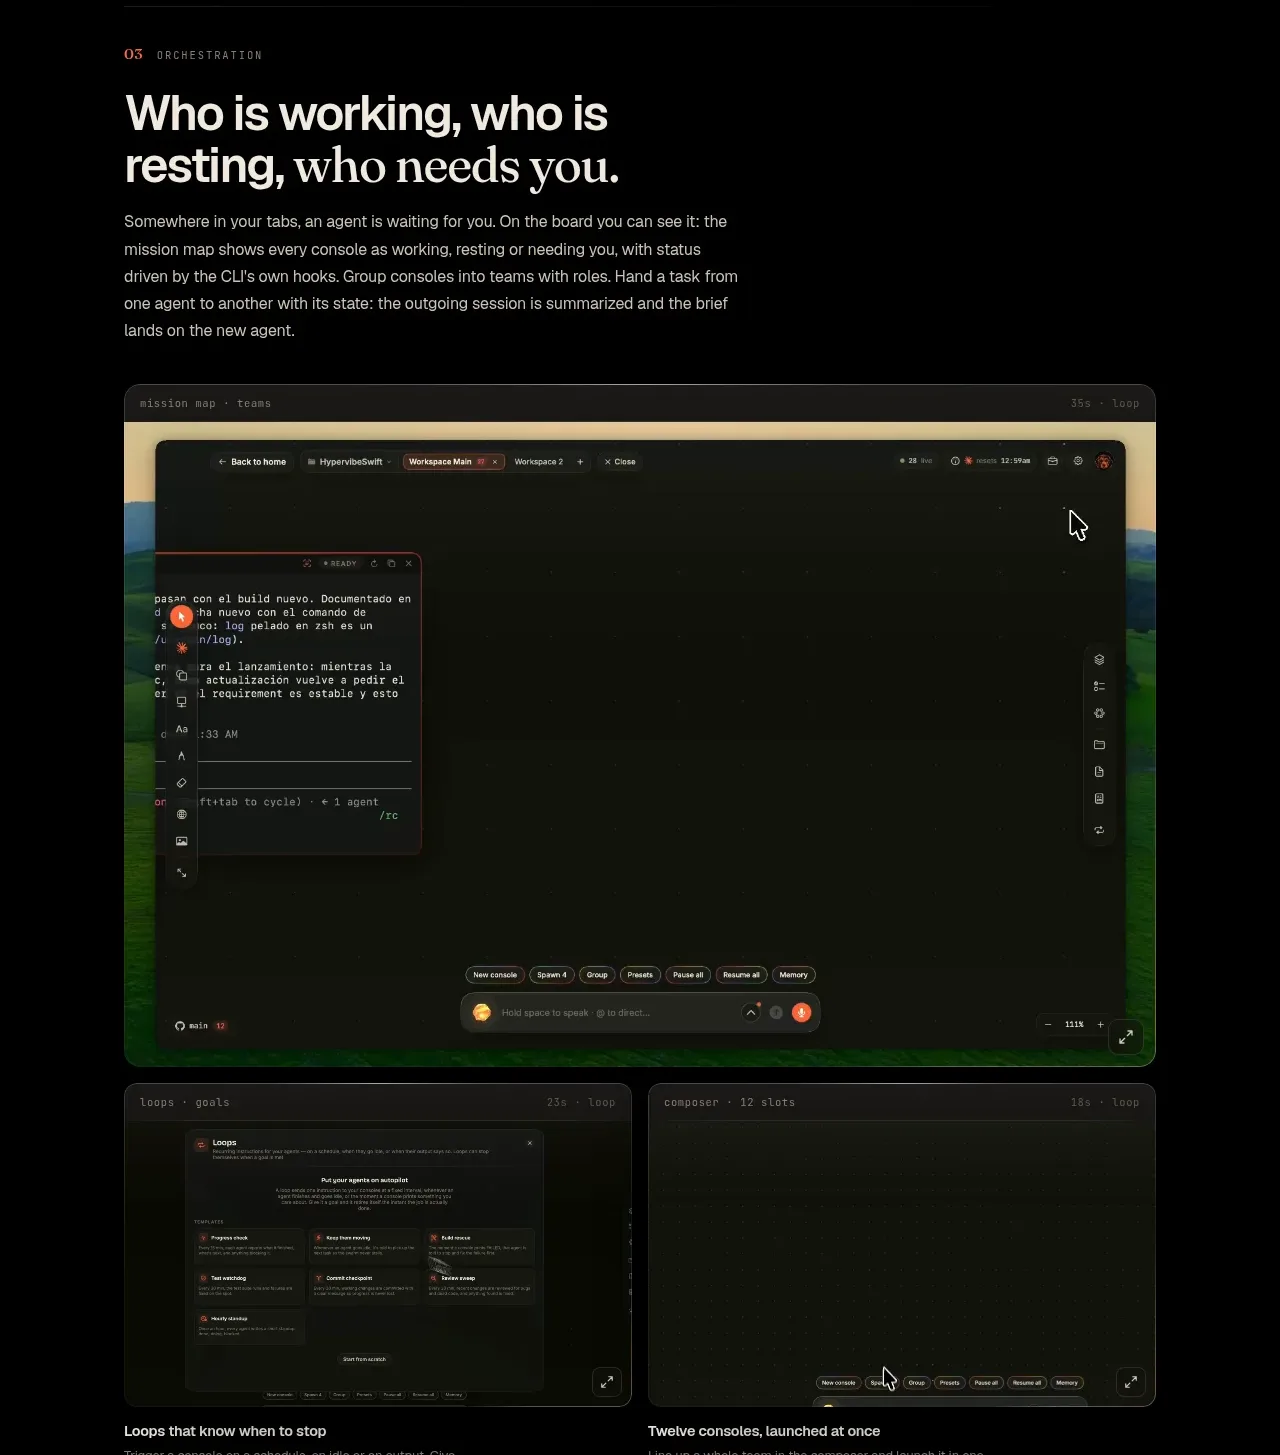 Agent orchestration section
Hypervibe · Feature grid
Agent orchestration section
Hypervibe · Feature grid
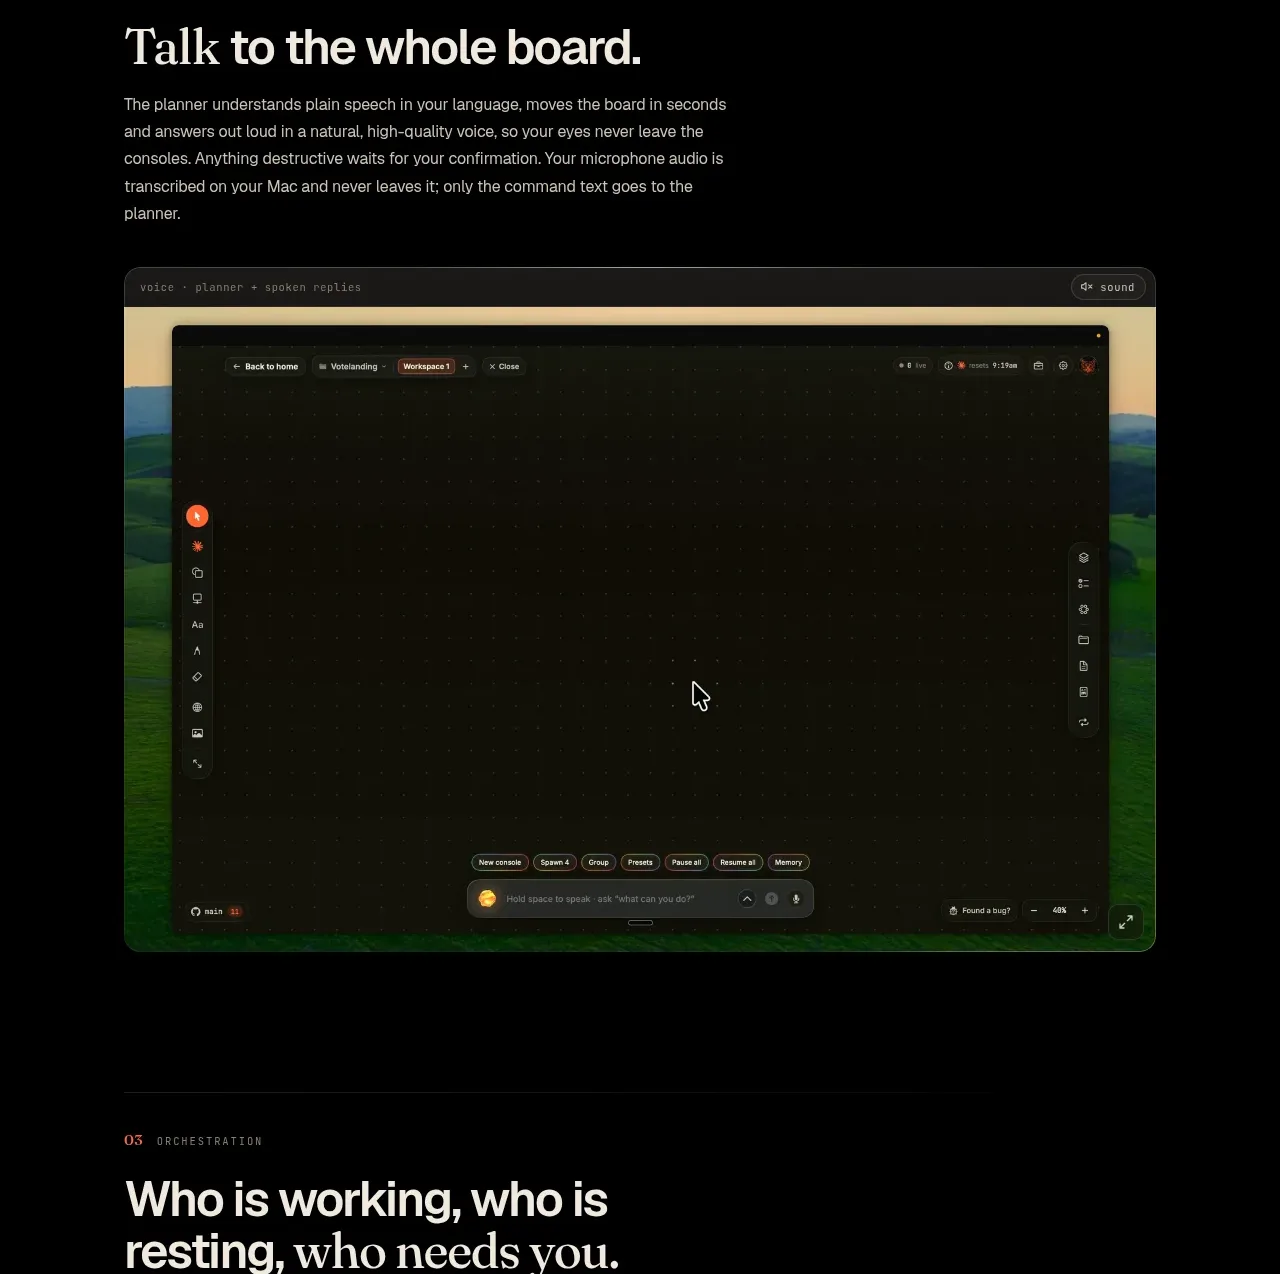 Voice collaboration section
Hypervibe · Feature grid
Voice collaboration section
Hypervibe · Feature grid

 How it works: connected research tools
Lune · Feature grid
How it works: connected research tools
Lune · Feature grid
 What it is: trusted knowledge features
Lune · Feature grid
What it is: trusted knowledge features
Lune · Feature grid