 kage
kage
railway.com

Design analysis
A compact customer-logo section combines a moody, low-contrast editorial backdrop with a crisp two-row grid of evenly sized logo cells. Fine dividers, restrained monochrome marks, and generous centering make the customer list feel premium without competing with the surrounding page.
Prompt preview
## Reference images

Study these alongside the description below: hierarchy, rhythm, spacing, colour. Build for the product you are asked about, using this design language.

- Component: https://kage-design-assets.t3.tigrisfiles.io/components/railway-com/2043945d-689d-427f-b51d-92aa383b8c92-1789060662-2.webp
- Full page it was cut from: https://kage-design-assets.t3.tigrisfiles.io/screenshots/railway-com/2043945d-689d-427f-b51d-92aa383b8c92-1789060635-full.webp
- Component on Kage: https://kage.design/component/railway-logo-cloud

## Before you start
Ask me what my product is, who it is for, and what its brand personality and visual identity are. Then apply the principles below to create a logo-cloud section tailored to my product—not a copy of the reference.

## Design language

Build a compact social-proof logo cloud that sits over or immediately above a visually atmospheric section of the page. The section should feel editorial, premium, and slightly cinematic while keeping the logos highly legible.

### Layout and alignment
- Use a full-width section with a constrained inner container, approximately 1100–1240px wide on desktop.
- Place a subtle background visual, texture, gradient, or abstract scene behind the component; keep it dark and low contrast so it supports rather than dominates the logo grid.
- Anchor the logo cloud toward the lower portion of the section, using a rounded outer container or softly clipped bottom edge if it suits the product’s brand.
- Organize logos in a strict rectangular grid: typically 5–6 columns and 2 rows on desktop, with equal-width cells and consistent row heights.
- Center each logo both vertically and horizontally within its cell. Preserve each mark’s natural aspect ratio and set a consistent maximum width and height rather than forcing identical dimensions.
- On smaller screens, switch to 2 columns, or use a horizontally scrollable row only if the product’s context benefits from browsing many customers. Avoid cramped logos.

### Typography and logo treatment
- Use customer marks as monochrome or near-monochrome assets, generally white or cool off-white, with opacity around 80–95%.
- Do not recolour or distort logos. If text-based placeholders are needed during implementation, use varied wordmark-like typographic treatments to suggest different brand identities without using real brands.
- Keep any optional eyebrow or heading short, uppercase or sentence case, with a small size around 11–14px, medium weight, and modest letter spacing.
- The logos are the primary content; do not add unnecessary explanatory copy inside the grid.

### Spacing
- Give the outer panel approximately 28–44px of vertical padding and 20–32px of horizontal padding.
- Use equal cell heights, roughly 90–110px on desktop, with 24–40px internal breathing room.
- Maintain a clear separation between the background artwork and the grid, using a dark overlay or gradient behind the panel.
- On mobile, reduce cell height to around 72–88px and preserve at least 16px gutters around the component.

### Colour
Use the existing product brand where available. Otherwise, start with:
- Deep atmospheric background: #111A25 or #17212B
- Grid panel: #263238 to #2D393B
- Logo colour: #F1F3F1
- Muted logo colour: #C8D0CD
- Dividers: rgba(225, 235, 232, 0.22)
- Optional background overlay: rgba(8, 14, 22, 0.55–0.72)

The backdrop should have low saturation and reduced contrast. The grid may be slightly lighter than the surrounding scene, but it should remain integrated rather than looking like a bright card pasted on top.

### Borders and radius
- Use thin 1px dividers between cells, preferably with a translucent light colour.
- Use a subtle 1px outer border if needed to define the panel.
- Apply a medium-to-large radius, approximately 14–20px, to the outer panel; clip internal content so the corners remain clean.
- Avoid heavy shadows. If depth is needed, use a soft dark shadow or a very subtle inset highlight.

### Interaction and accessibility
- Logos may link to customer stories or case studies. Give linked cells a restrained hover state: slightly brighter logo opacity, a faint background lift, or a 1–2px translated emphasis.
- Keep transitions quick and subtle, around 160–220ms, with an appropriate reduced-motion fallback.
- Provide meaningful alt text for every logo and ensure focus states are clearly visible against the dark panel.
- Do not rely on logo colour alone to communicate interaction.

## Never
- Never use the reference’s logos, product names, customer names, copy, illustrations, scenery, or imagery.
- Never reproduce the exact arrangement, artwork, proportions, or visual identity of the reference.
- Never add invented logos that could be mistaken for real companies; use the user’s approved assets or clearly generic placeholders.
- Never let the background overpower the logos or reduce contrast below accessible levels.
More components
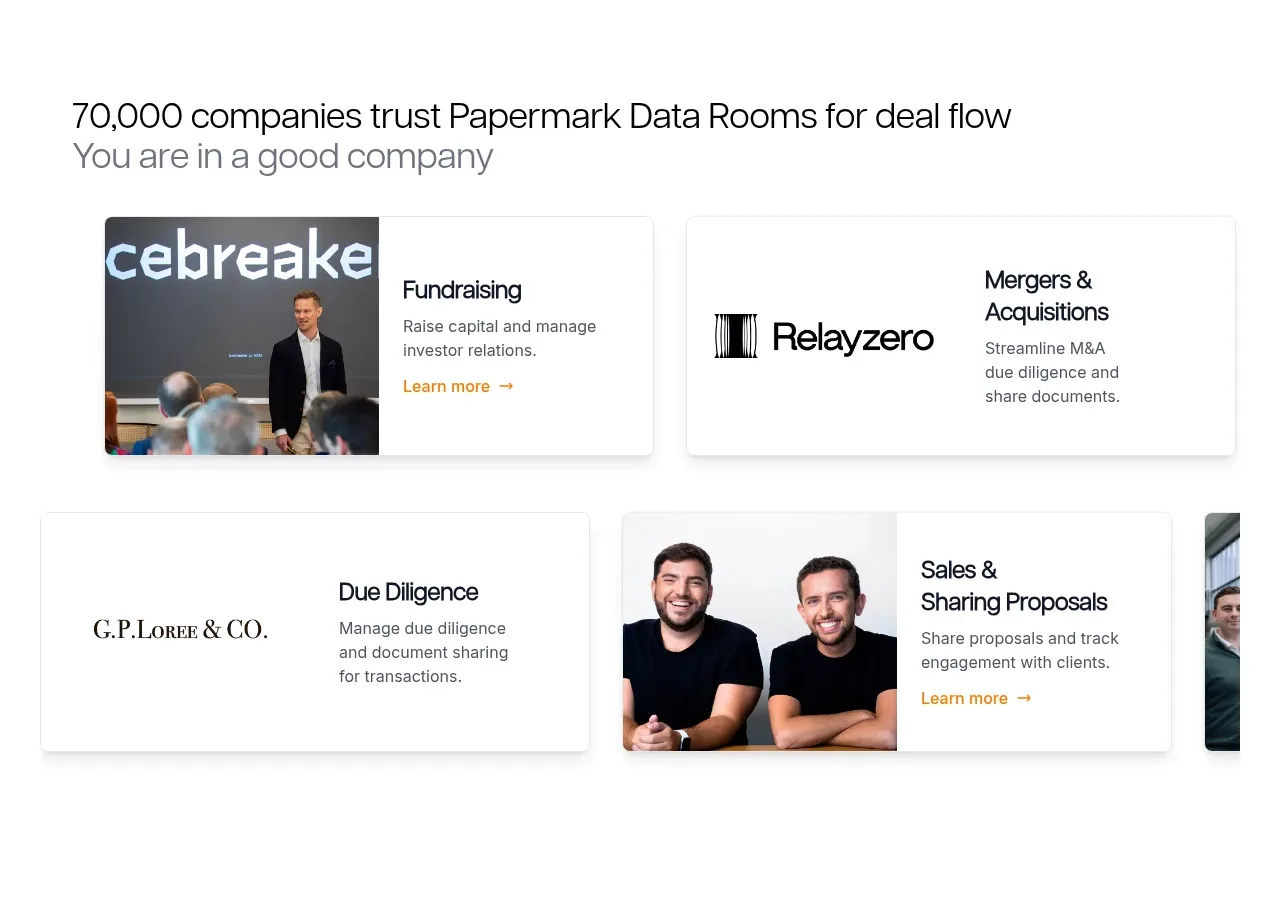
 Customer proof and use-case cards
Papermark Data Rooms · Logo cloud
Customer proof and use-case cards
Papermark Data Rooms · Logo cloud
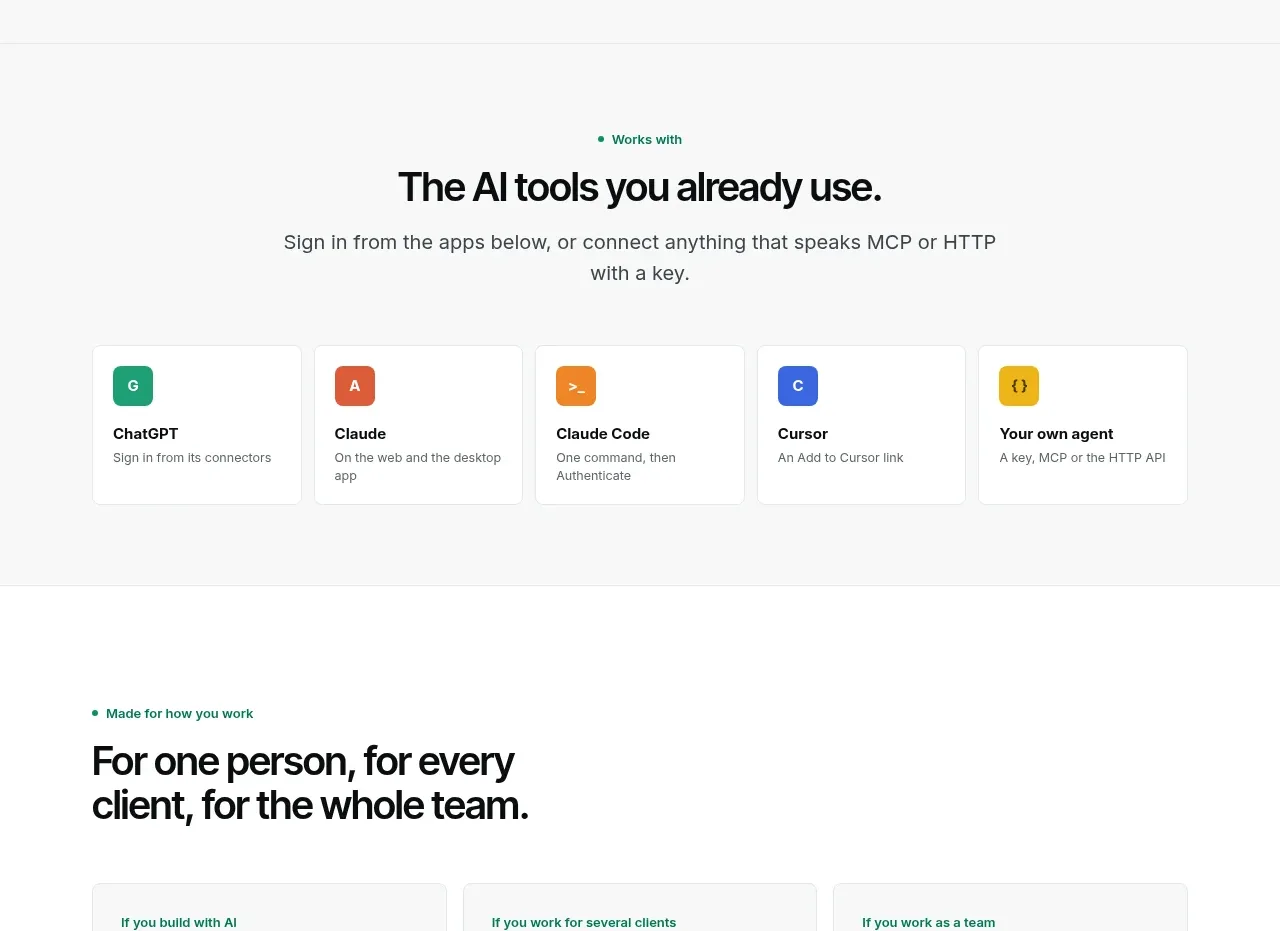
 Compatible tools grid
Context Engine · Logo cloud
Compatible tools grid
Context Engine · Logo cloud

M
AI model compatibility strip
MOVO AI · Logo cloud

 Customer logo strip
Inflight · Logo cloud
Customer logo strip
Inflight · Logo cloud
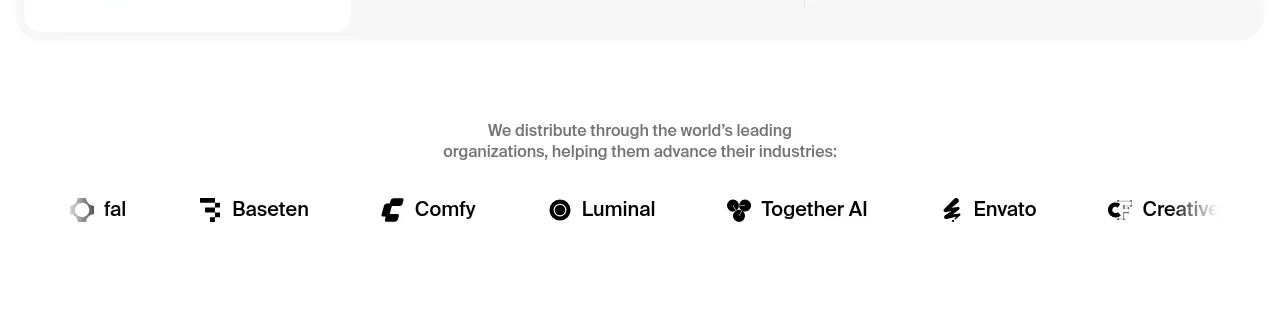
 Customer logo strip
Krea 3 · Logo cloud
Customer logo strip
Krea 3 · Logo cloud

 Trusted by professional teams
Inbox Zero · Logo cloud
Trusted by professional teams
Inbox Zero · Logo cloud