 kage
kage
turso.tech

Design analysis
A compact, low-contrast trust strip pairs a short credibility statement with a single row of monochrome customer marks. The framed container, vertical divider, generous alignment, and restrained typography make many logos feel orderly without competing with the page’s primary message.
Prompt preview
## Reference images

Study these alongside the description below: hierarchy, rhythm, spacing, colour. Build for the product you are asked about, using this design language.

- Component: https://kage-design-assets.t3.tigrisfiles.io/components/turso-tech/a01fe972-4603-42df-a7fd-1b66e57f2913-1789073738-2.webp
- Full page it was cut from: https://kage-design-assets.t3.tigrisfiles.io/screenshots/turso-tech/a01fe972-4603-42df-a7fd-1b66e57f2913-1789073707-full.webp
- Component on Kage: https://kage.design/component/turso-logo-cloud

## Before you start
Ask me what my product is, who it is for, and what its brand personality and visual identity are. Then apply the principles below to create a logo-cloud section for my product—not a copy of the reference. If I have real customer or partner logos, use those; otherwise use clearly labeled neutral placeholders until I provide approved assets.

## Design goal
Build a compact horizontal trust bar that communicates credibility through a calm, curated set of customer or partner logos. It should feel like a supporting proof point rather than a hero section: quiet, structured, highly legible, and easy to scan.

## Reusable design rules

### Layout and alignment
- Place the section inside the page’s main content container, with a maximum width of roughly 1160–1240px and responsive horizontal gutters of about 24–56px.
- Use one rounded rectangular rail with two areas: a narrower statement panel on the left and a wider logo area on the right.
- Give the statement panel approximately 20–22% of the available width on desktop; let the logo area occupy the remainder.
- Separate the two areas with a subtle 1px vertical divider. Vertically center all content within the rail.
- Arrange approximately 5–8 logos in one evenly distributed row on wide screens. Keep each mark optically balanced rather than forcing identical widths.
- On smaller screens, switch to a stacked layout or a horizontally scrollable logo row. Preserve the statement as the first clear element and avoid cramped logos.
- Use CSS flex or grid with consistent gaps, and prevent logos from colliding or wrapping unpredictably.

### Typography hierarchy
- Use a small supporting statement, around 14–16px, with a comfortable 1.35–1.5 line height.
- Keep the statement to roughly 3–4 short lines on desktop; it should be readable but visually secondary.
- Use the product’s own typeface or a close system fallback. Prefer medium weight for the statement and avoid oversized headings.
- Do not add individual captions, tooltips, or marketing claims beneath each logo unless the product’s context requires them.

### Colour
- Match the product’s brand first. For a dark interface, use an approximate background of #0B0F12 or #0D1114, a rail fill near #0E1316, and a border around #20282C.
- Use muted statement text around #8D9598, with stronger text only where needed for accessibility.
- Render approved logos in a restrained monochrome treatment, such as #E8ECEB or #D7DDDC, while allowing their original shapes to remain recognizable.
- Ensure all text and marks meet reasonable contrast requirements. Avoid bright accent colours unless they are central to the product brand.

### Borders, radius, and spacing
- Use a thin, low-contrast 1px border around the full rail.
- Apply a medium corner radius, approximately 12–16px, with clipping that keeps contents inside the rounded frame.
- Use about 16–20px vertical padding and 16–24px horizontal padding inside the rail.
- Give the statement panel enough breathing room—roughly 16–24px on the right—and maintain at least 28–44px between adjacent logos.
- Keep the overall component short and dense, approximately 88–112px tall on desktop depending on the statement length.

### Logo treatment and interaction
- Use real SVG or image assets when available; preserve aspect ratio and provide meaningful accessible labels.
- Normalize logo height to a consistent optical range, usually 18–26px, while allowing wider wordmarks to occupy more horizontal space.
- Apply grayscale, reduced opacity, or a single-colour fill to create a unified visual system. Do not distort or crop marks.
- If logos are links, add a subtle opacity or brightness increase on hover and a visible keyboard focus state. If they are only decorative proof, keep them non-interactive.
- Consider a gentle transition around 150–200ms, but avoid animation that makes the trust bar feel noisy.
- On mobile, make overflow behavior obvious and keyboard accessible; do not hide logos behind an inaccessible carousel.

## Content and implementation
- Keep the supporting statement specific to the user’s product and audience, but concise.
- Use semantic HTML: a `section` with an accessible label, a text block, and a list of logo items.
- Include responsive behavior, reduced-motion support, and alt text for every meaningful logo.
- Build the component so the number of logos can change without breaking alignment.

## Never
- Never copy the reference’s logos, product names, wording, or exact arrangement.
- Never use logos, names, or claims from the reference as placeholder content.
- Never include the reference’s brand identity, illustrations, photography, or other imagery.
- Never invent customer relationships; use neutral placeholders until approved assets and permissions exist.
- Never make the logo cloud louder than the surrounding page content.
- Never stretch, recolour beyond brand guidelines, or otherwise alter a logo in a way that violates its usage rules.
More components
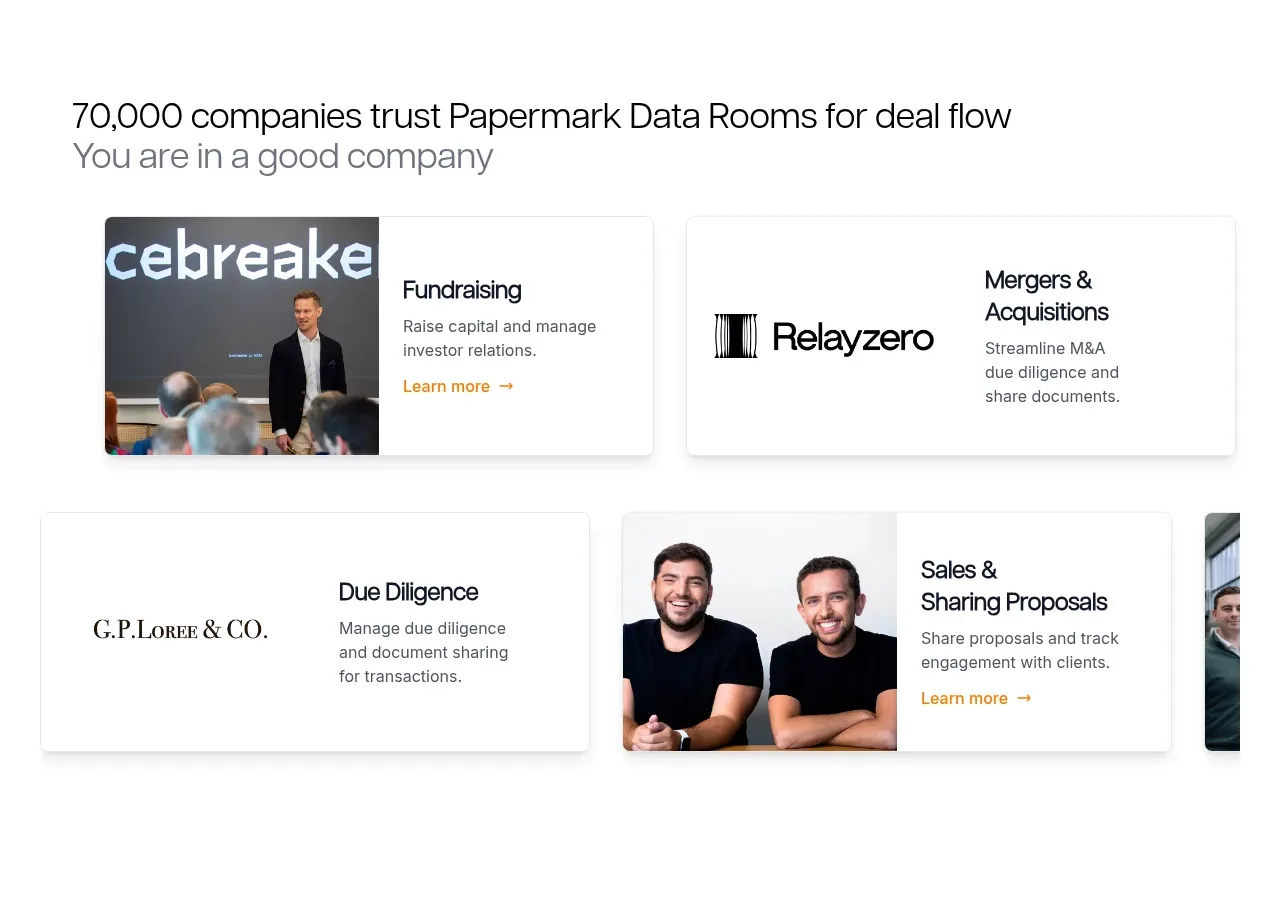
 Customer proof and use-case cards
Papermark Data Rooms · Logo cloud
Customer proof and use-case cards
Papermark Data Rooms · Logo cloud
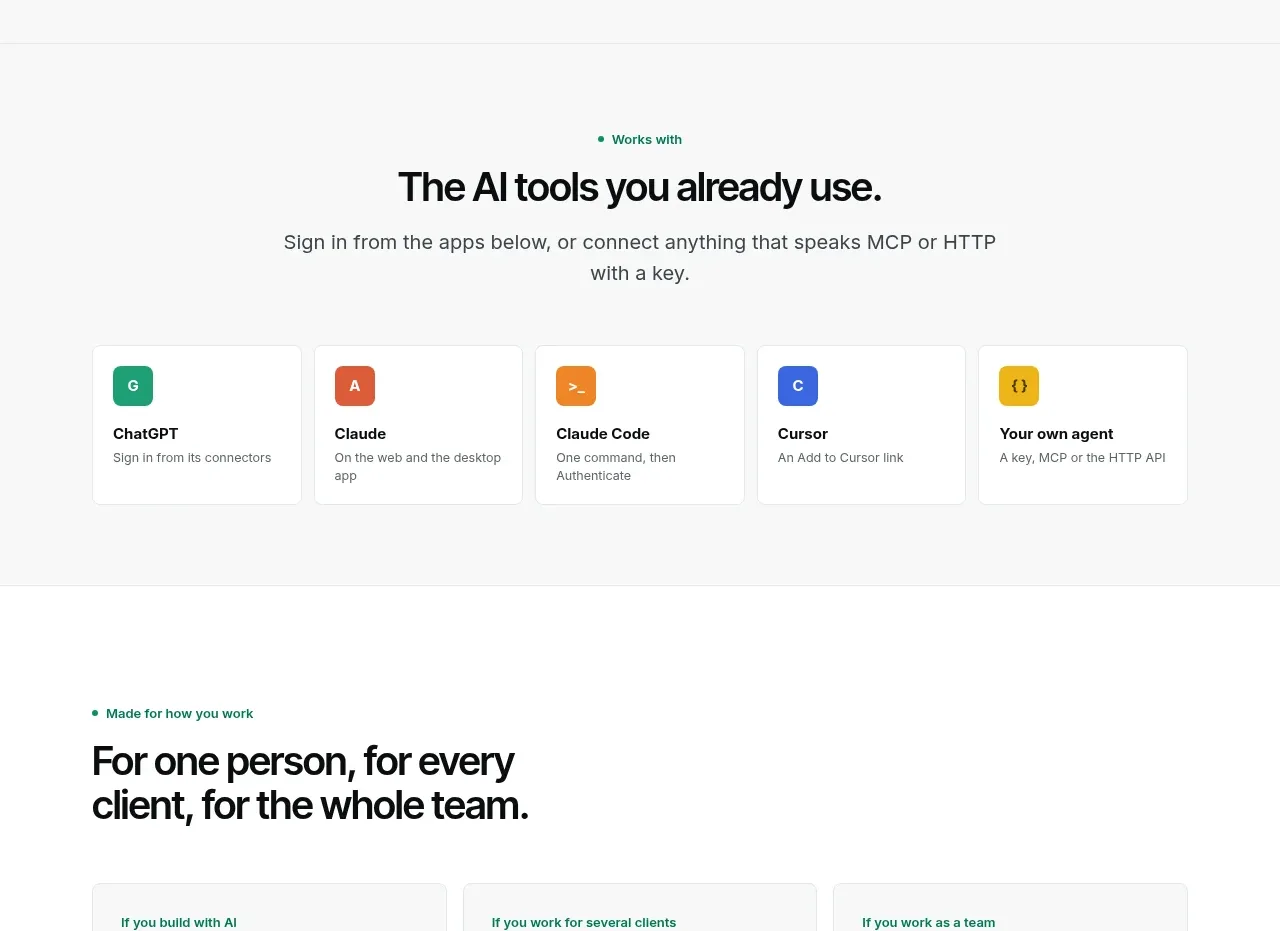
 Compatible tools grid
Context Engine · Logo cloud
Compatible tools grid
Context Engine · Logo cloud

M
AI model compatibility strip
MOVO AI · Logo cloud

 Customer logo strip
Inflight · Logo cloud
Customer logo strip
Inflight · Logo cloud
 Customer logo strip
Krea 3 · Logo cloud
Customer logo strip
Krea 3 · Logo cloud

 Trusted by professional teams
Inbox Zero · Logo cloud
Trusted by professional teams
Inbox Zero · Logo cloud