 kage
kage
figma.com

Design analysis
A centered section introduces one workspace for the product development process with a short supporting line and a broad visual/content area beneath it.
Prompt preview
## Reference images

Study these alongside the description below: hierarchy, rhythm, spacing, colour. Build for the product you are asked about, using this design language.

- Component: https://kage-design-assets.t3.tigrisfiles.io/components/figma-agent/07db1d51-fc5a-42e3-8555-5aed12aa6731-1791439426-3.webp
- Full page it was cut from: https://kage-design-assets.t3.tigrisfiles.io/screenshots/figma-agent/07db1d51-fc5a-42e3-8555-5aed12aa6731-1791439335233-full.webp
- Component on Kage: https://kage.design/component/figma-agent-feature-grid-2

## Before you start
Ask what the user's product, audience, and brand are, then apply the principles below to that product rather than reproducing the reference.

Build a centered workspace-overview section. Use a short heading around 22–26px and a muted supporting line around 18–22px, aligned to a readable column rather than spanning the full viewport. Leave enough breathing room below for a product screenshot, diagram, or feature modules. Use a white or very lightly tinted background, strong black heading text, gray supporting text, and no heavy borders. The design should communicate an end-to-end workflow through hierarchy and space before the detailed modules appear. Make the section responsive by switching from centered composition to a comfortable single-column layout on mobile.

Never:
- use logos, product names, copy, illustrations, or imagery from the reference
- copy the exact process language or layout
- add visual complexity before the supporting feature content
More components

 Privacy and optional intelligence
Mailwell · Feature grid
Privacy and optional intelligence
Mailwell · Feature grid
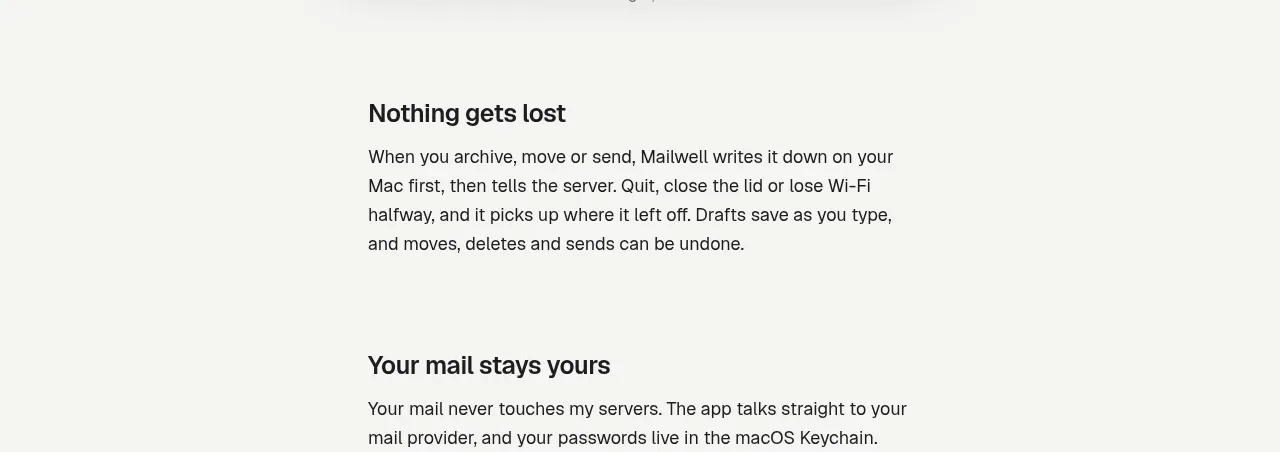 Reliable, recoverable actions
Mailwell · Feature grid
Reliable, recoverable actions
Mailwell · Feature grid
 Unified account setup
Mailwell · Feature grid
Unified account setup
Mailwell · Feature grid
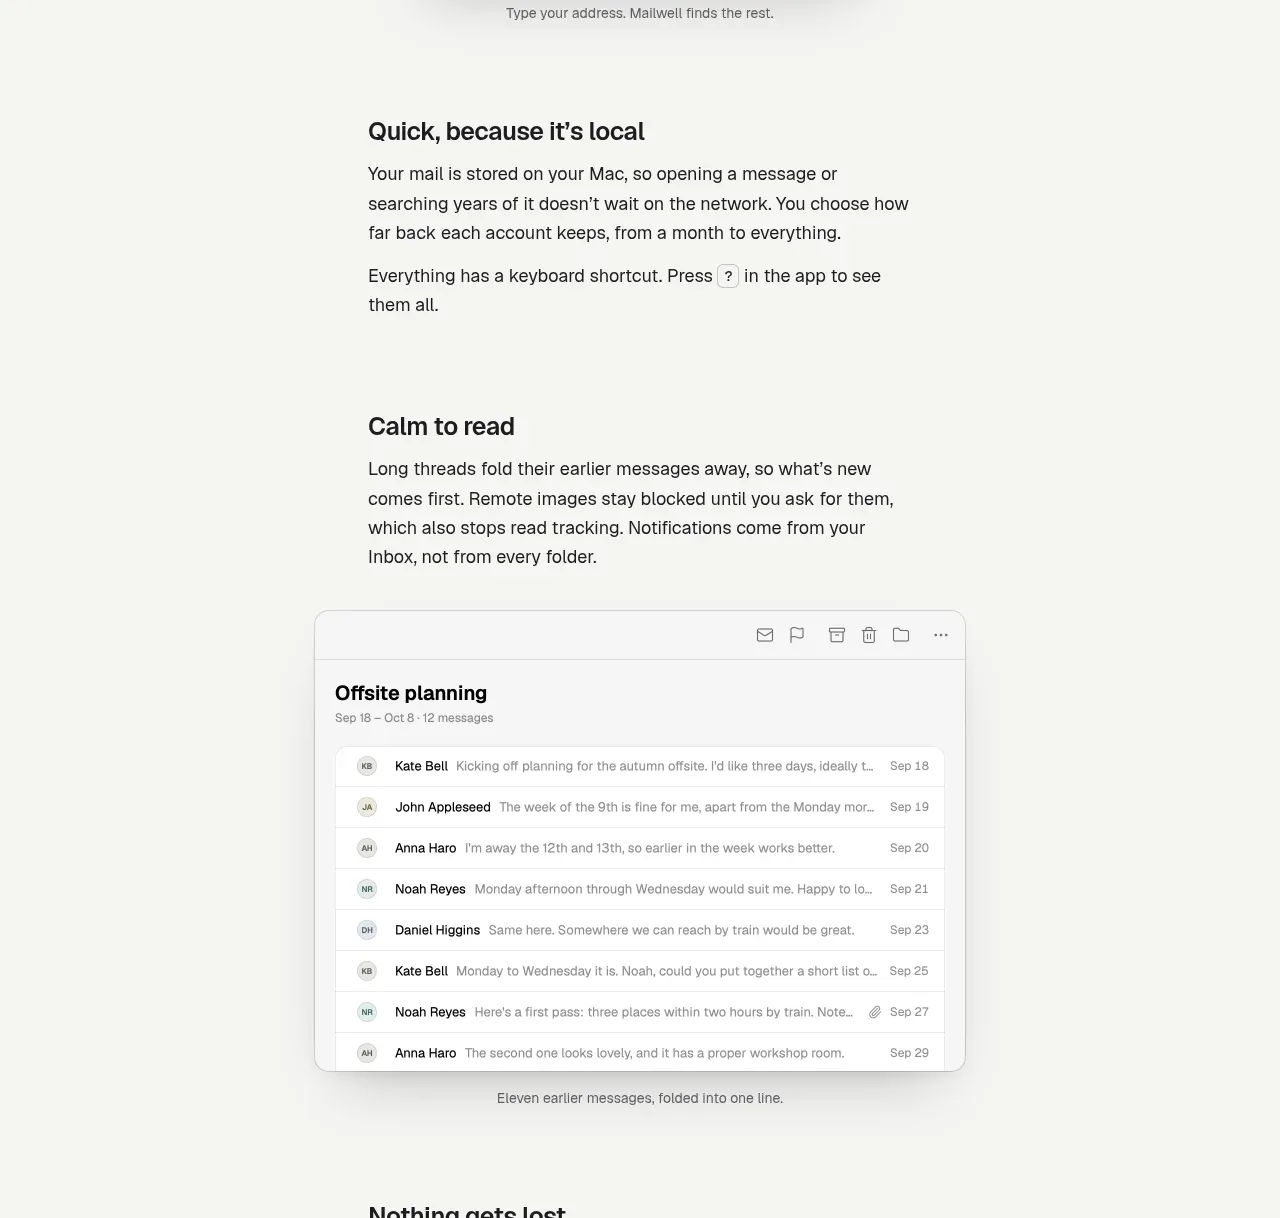 Fast local workflow and calm reading
Mailwell · Feature grid
Fast local workflow and calm reading
Mailwell · Feature grid
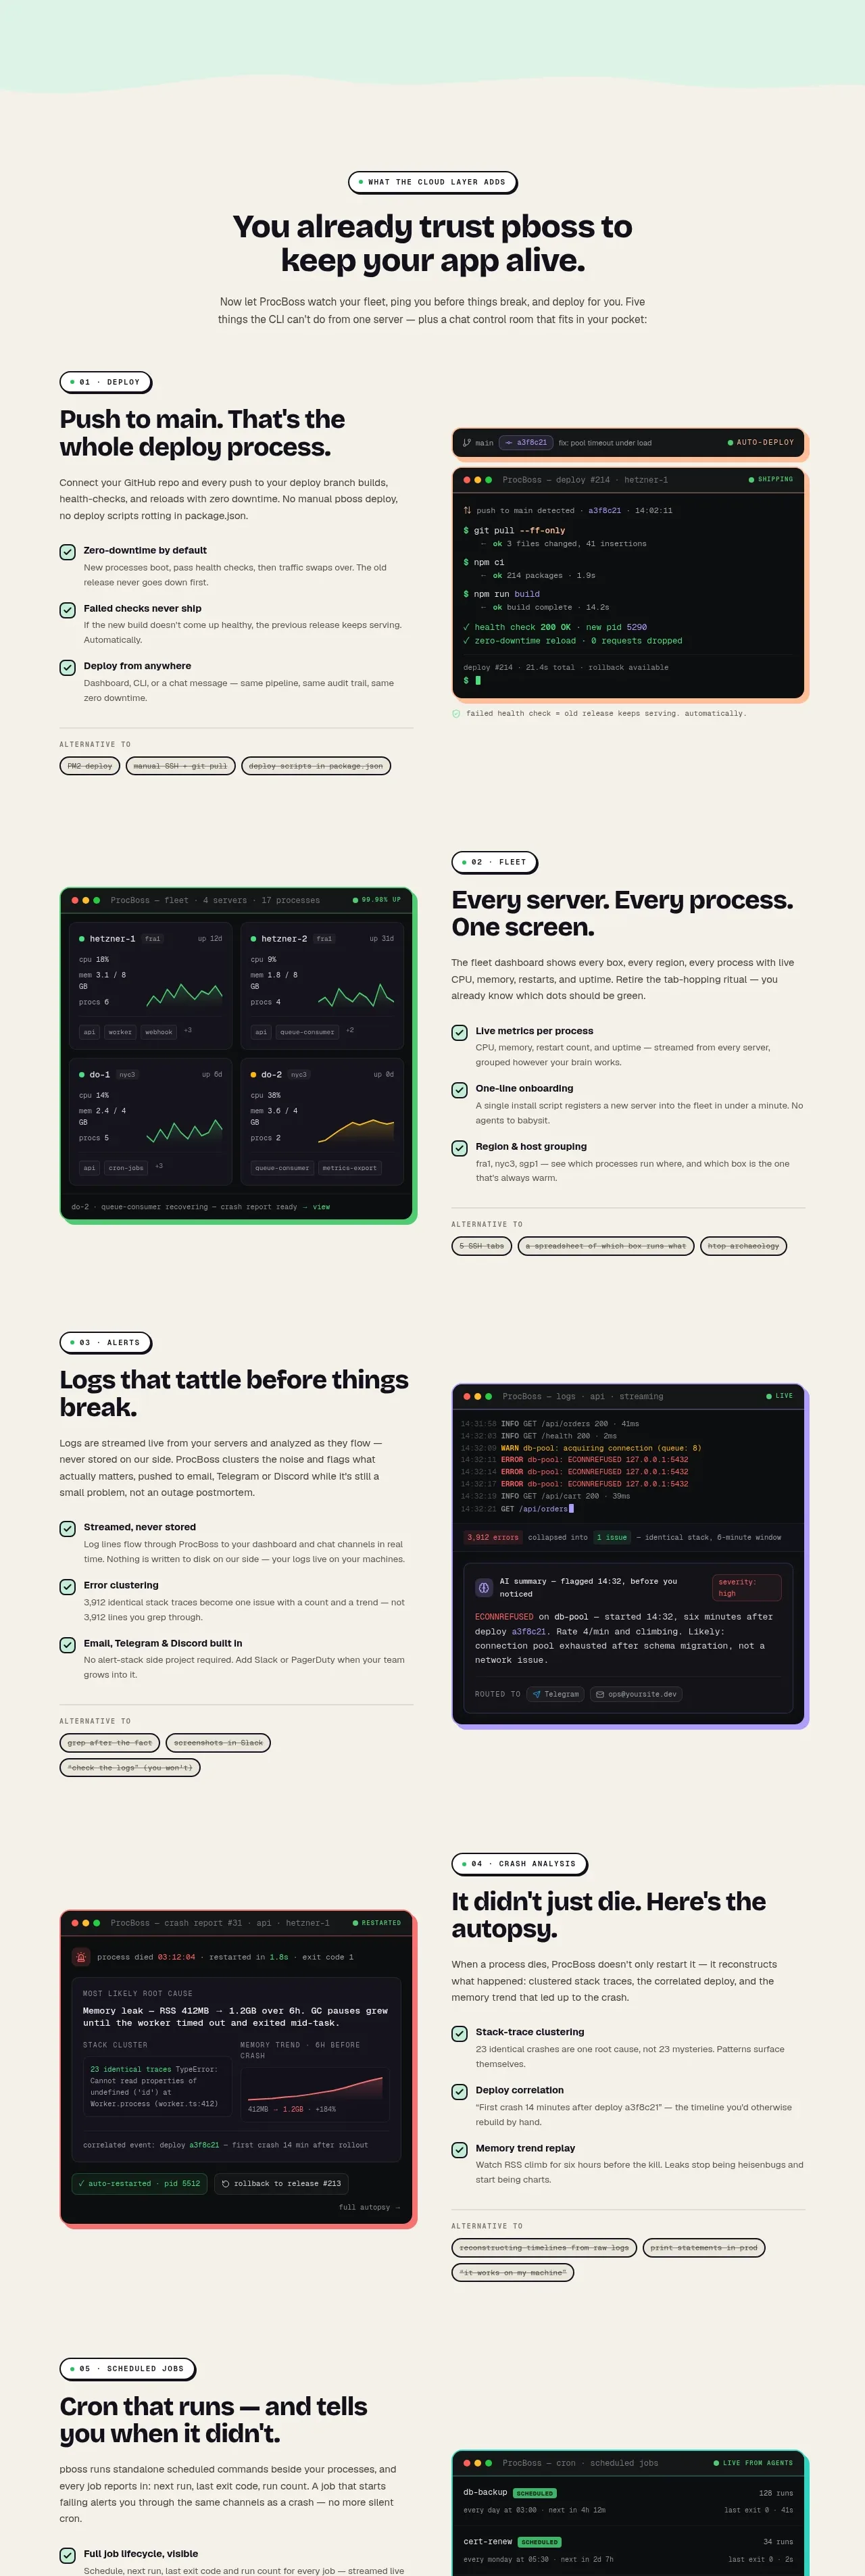
 Cloud layer workflows
ProcBoss · Feature grid
Cloud layer workflows
ProcBoss · Feature grid
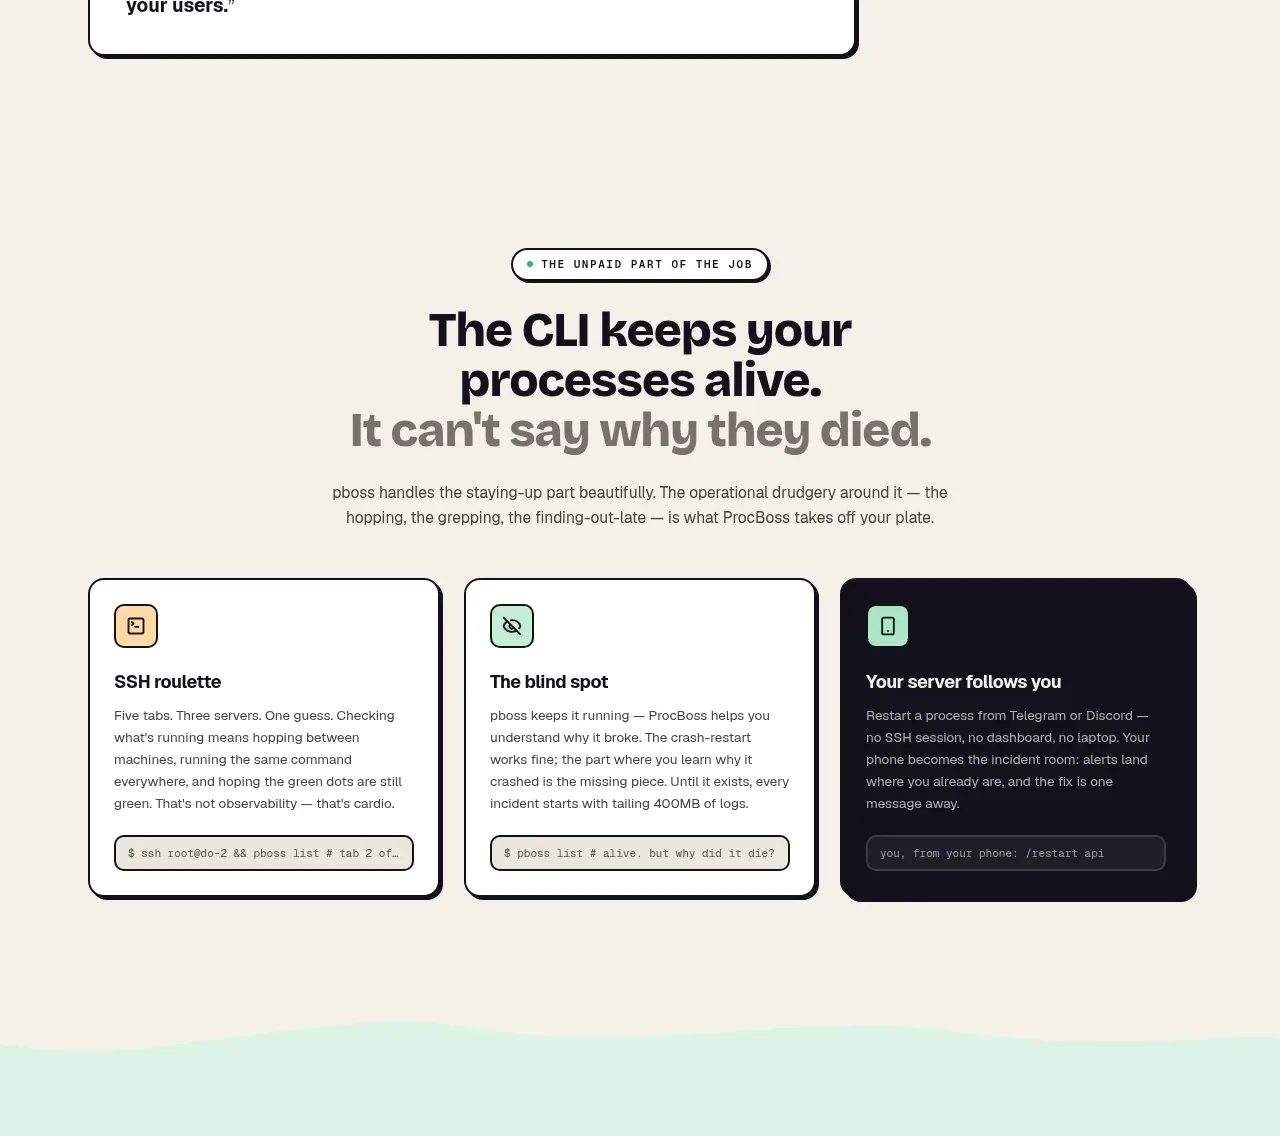 Operational blind spots
ProcBoss · Feature grid
Operational blind spots
ProcBoss · Feature grid