 kage
kage
monzo.com

Design analysis
A calm, high-conversion onboarding section pairs a concise CTA with a numbered three-step explanation and a bold product visual. The active first step sits in a white card while the remaining steps recede, creating a clear sense of progress without overwhelming the user.
Prompt preview
## Reference images

Study these alongside the description below: hierarchy, rhythm, spacing, colour. Build for the product you are asked about, using this design language.

- Component: https://kage-design-assets.t3.tigrisfiles.io/components/monzo-com/b864c421-0184-411c-901f-a4ffc676dbcc-1789060821-8.webp
- Full page it was cut from: https://kage-design-assets.t3.tigrisfiles.io/screenshots/monzo-com/b864c421-0184-411c-901f-a4ffc676dbcc-1789060760-full.webp
- Component on Kage: https://kage.design/component/monzo-cta

# Before you start
Ask what the user's product is, who it is for, and what brand direction they want to use. Then apply the principles below to create an original version for that product rather than reproducing the reference.

## Build a reassuring, progress-led signup CTA
Create a large, rounded CTA section that explains how simple it is to get started. The component should combine a short introductory message and primary button with a two-column onboarding explainer: a numbered list of three steps on the left and a bold, product-relevant visual panel on the right.

### Layout and alignment
- Use a wide, centered container with generous outer whitespace and a very pale tinted background.
- Place the introductory heading, supporting sentence, and primary CTA above the step-and-visual area, centered on desktop.
- Below the intro, use a two-column grid: approximately 1fr 1fr, with the left column slightly wider if the step copy needs room.
- Keep all content aligned to a consistent container edge; vertically center the steps against the visual panel.
- Present three vertically stacked steps with generous separation. The first/current step receives a white raised card; later steps remain on the tinted background with lower visual emphasis.
- On smaller screens, stack the steps above the visual panel, keep the intro readable, and avoid forcing horizontal scrolling.
- Make the component responsive between roughly 320px and 1440px. Reduce padding and heading size progressively on narrow screens.

### Typography hierarchy
- Use a friendly, modern sans-serif with sturdy, slightly rounded letterforms.
- Intro heading: large, bold, near-black, with tight line-height; use a maximum width so it wraps into a confident two-line statement when needed.
- Intro description: medium-sized muted gray, relaxed line-height, and a narrower measure.
- Primary CTA: semibold white text, compact and highly legible.
- Step label: small, bold, accent-coloured text for the active step and muted gray for inactive steps.
- Step number: oversized, bold, and visually dominant; use the accent colour for the active number and slate gray for inactive numbers.
- Step title: medium-to-large bold text, near-black for the active step and softened gray for inactive steps.
- Step description: smaller gray body text with comfortable line-height. Keep it brief enough to scan.

### Colour and surfaces
Use a warm, optimistic palette, but derive the final colours from the user's brand:
- Section background: very pale cool mint, approximately `#F2F8F5`.
- Primary text: deep blue-black, approximately `#101C26`.
- Secondary text: neutral blue-gray, approximately `#687276`.
- Accent for the active step: vivid coral-red, approximately `#F0443E`.
- CTA background: deep navy, approximately `#081923`; CTA text `#FFFFFF`.
- Active step surface: white or near-white, approximately `#FFFFFF`.
- Product visual panel: use the brand's strongest saturated colour, with a darker or lighter lower band to create depth.
- Maintain accessible contrast for all text, especially inactive steps and text placed over the visual.

### Borders, radius, and depth
- Give the outer section a large radius, approximately `32px–48px`, so it feels like a contained, friendly module.
- Give the active step card a medium radius, approximately `16px–20px`.
- Give the visual panel a large radius, approximately `28px–32px`, and clip its contents within the radius.
- Prefer subtle or no borders. Use a very soft shadow on the active card only, such as a low-opacity black shadow with a large blur.
- Keep the CTA pill-shaped with a radius of at least `999px` and generous horizontal padding.

### Product visual panel
- Use an abstract, product-specific visual that communicates the outcome of signup: for example, a dashboard preview, device frame, membership card, package, or layered interface object.
- Let the visual occupy most of the panel, with intentional cropping and overlap to make it feel editorial rather than like a generic placeholder.
- Add a small supporting caption or metric near the bottom only if it helps reinforce trust or adoption.
- Do not let decorative imagery compete with the step list or CTA.

### Interaction and state
- Treat the numbered steps as selectable tabs if the product has multiple states to demonstrate. Clicking or tapping a step should update the active card and the visual panel with a short, polished transition.
- If the section is static, retain the active-first-step treatment and use hover/focus feedback only on the primary CTA.
- Provide a visible keyboard focus ring, `aria-current` or equivalent state for the active step, and meaningful labels for any interactive controls.
- Use restrained motion: a short fade or slide, approximately `180–300ms`, with reduced-motion support.

### Content guidance
- Write a concise headline focused on the user's desired outcome.
- Explain the process in exactly three plain-language steps, moving from starting the application to completing setup and reaching the product's first value.
- Make the primary button action-oriented and specific to the user's product.
- Avoid exaggerated claims; use a trustworthy time estimate, requirement, or reassurance where appropriate.

## Never
- Never use the reference product's logo, product name, brand name, or exact copy.
- Never copy the reference's card artwork, payment-card imagery, illustrations, icons, or photographic treatment.
- Never reproduce the exact layout proportions, colours, step wording, or customer-count claim; reinterpret the pattern for the user's product.
- Never use placeholder text that exposes the design reference.
- Never sacrifice responsive behaviour, semantic structure, accessibility, or keyboard usability for visual similarity.
More components

 Conversion banner
Papermark Data Rooms · Call to action
Conversion banner
Papermark Data Rooms · Call to action
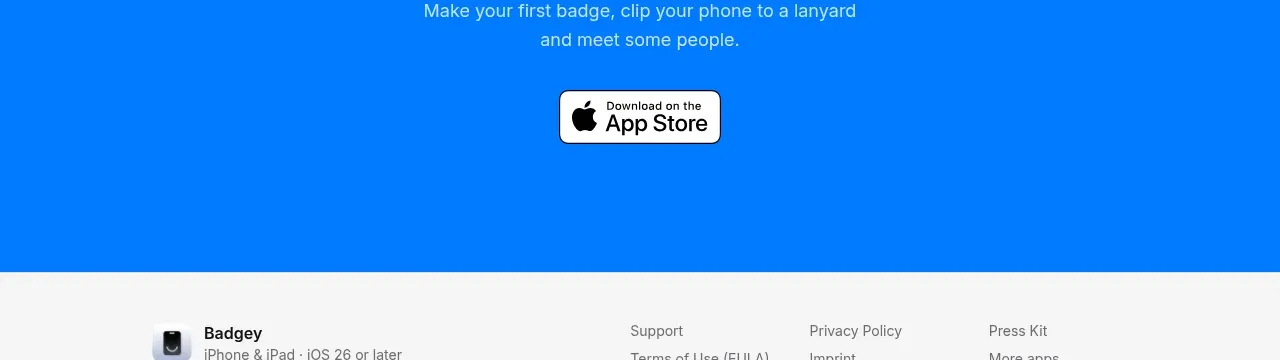
 Final download call to action
Badgey · Call to action
Final download call to action
Badgey · Call to action

 Final signup call to action
AgentGrid.io · Call to action
Final signup call to action
AgentGrid.io · Call to action

 Final conversion call to action
Context Engine · Call to action
Final conversion call to action
Context Engine · Call to action
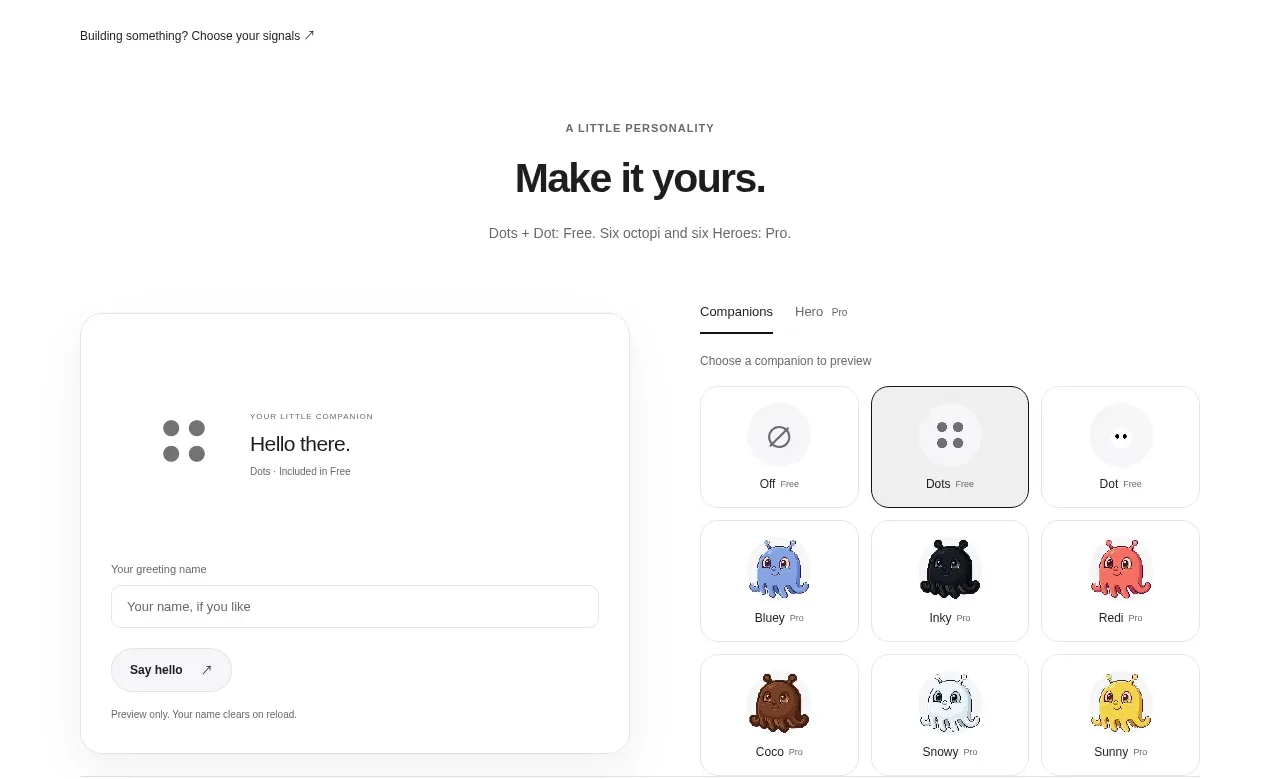
 Developer workflow callout
Dots · Call to action
Developer workflow callout
Dots · Call to action
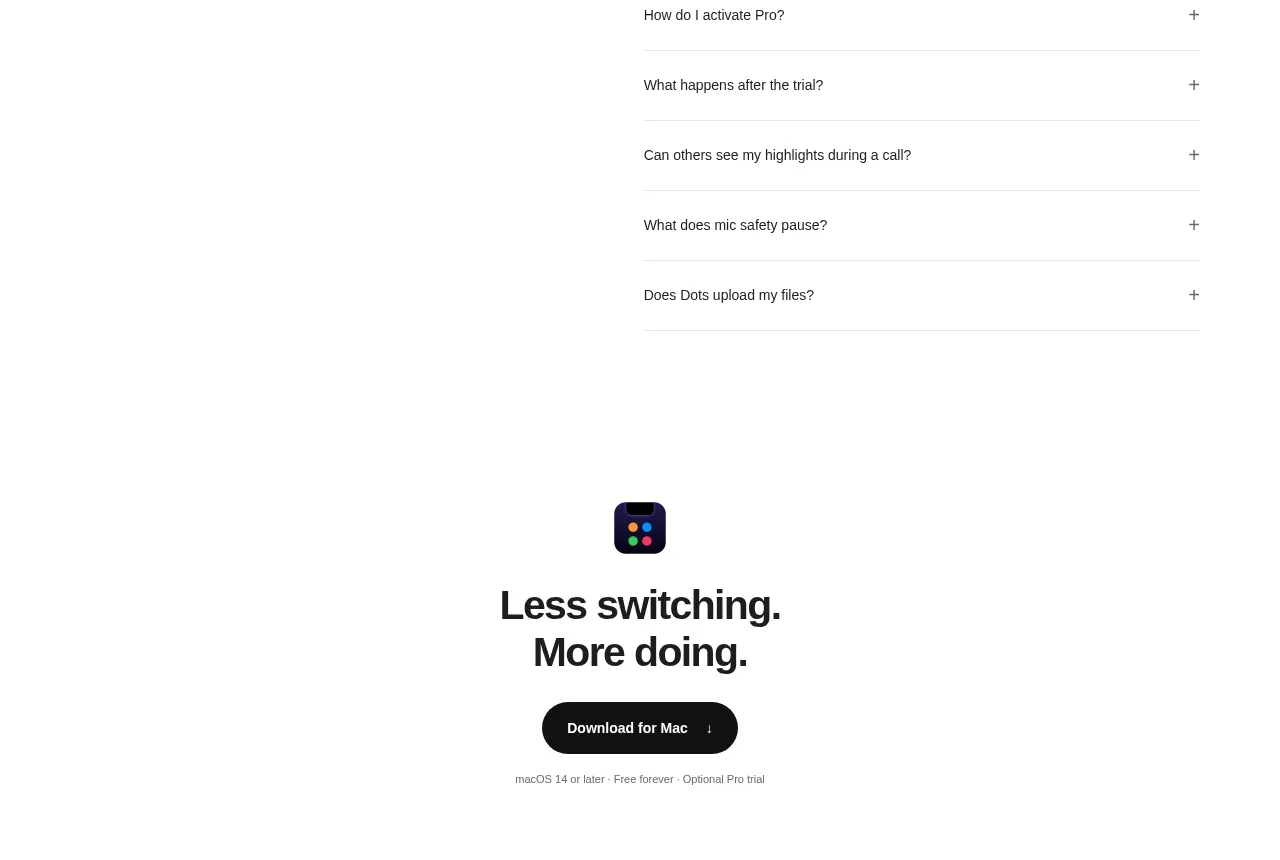 Final download CTA
Dots · Call to action
Final download CTA
Dots · Call to action