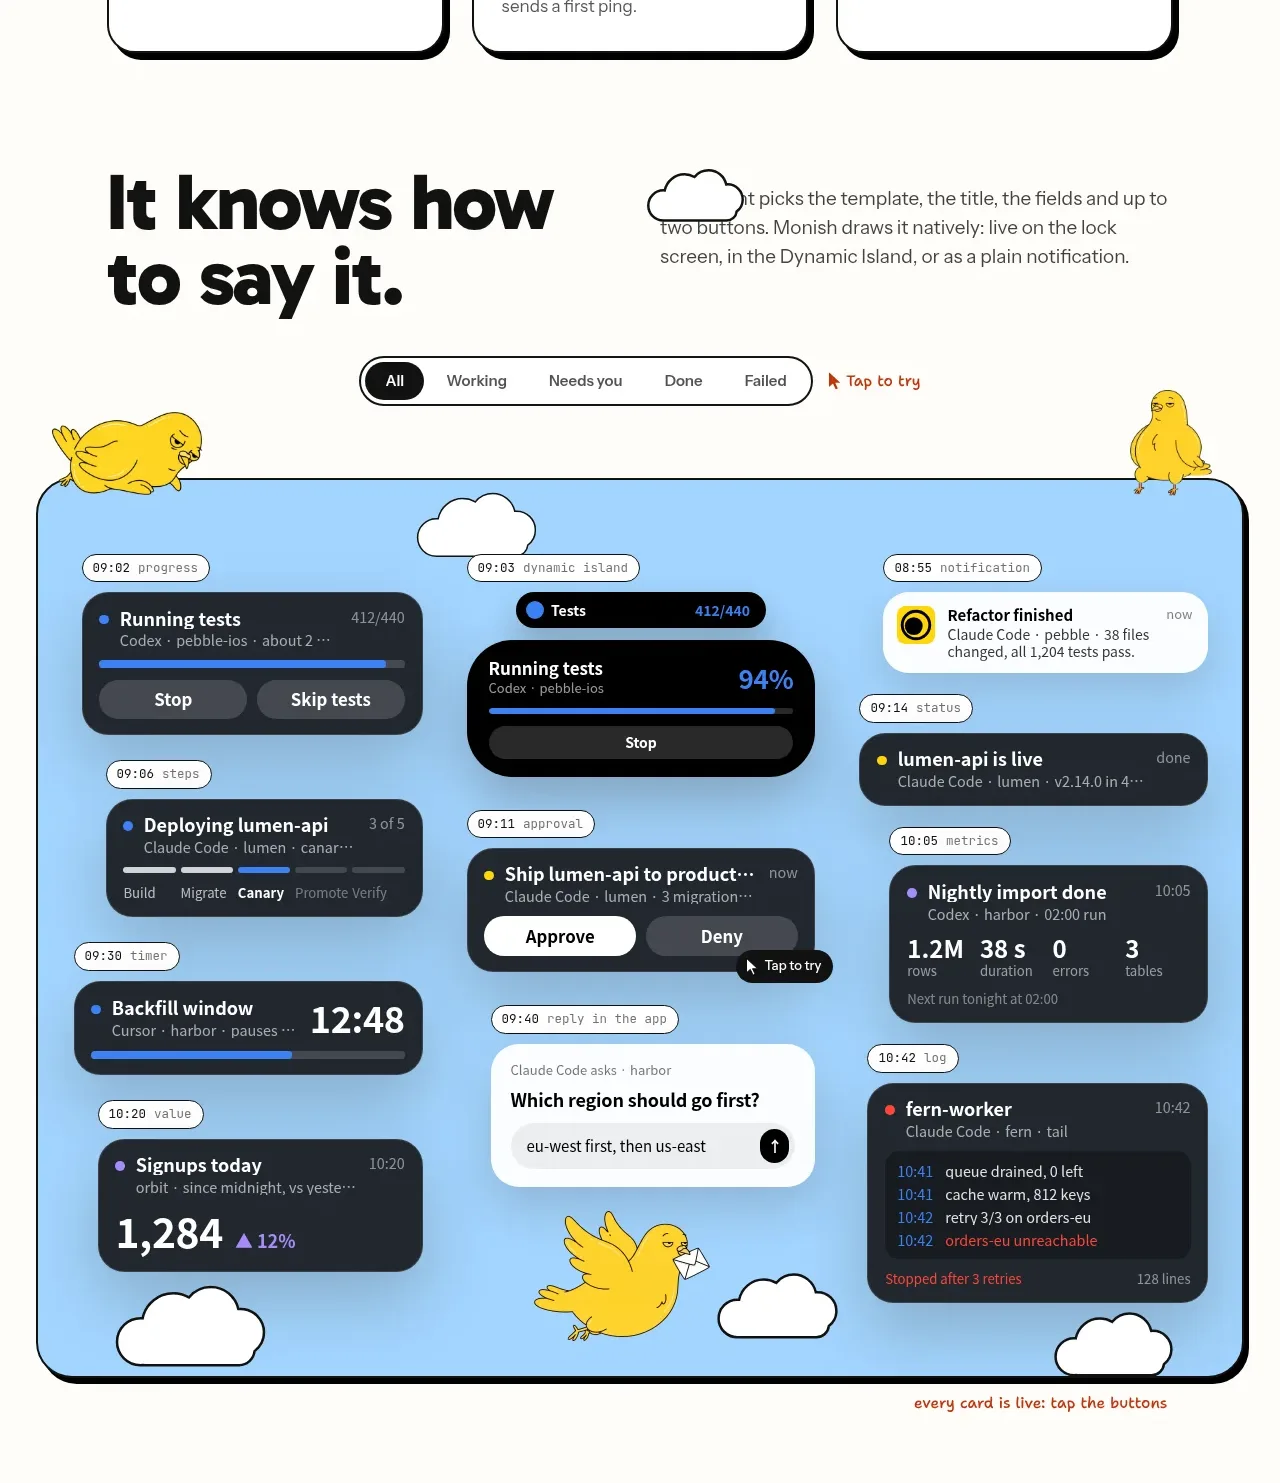
kage
kage
stripe.com

Design analysis
A spacious B2B product section pairs a concise value proposition with a prominent, colorful product visual and three outcome-focused supporting links. The asymmetric split, restrained typography, and layered interface callouts make a complex platform feel tangible without overwhelming the page.
Prompt preview
## Reference images

Study these alongside the description below: hierarchy, rhythm, spacing, colour. Build for the product you are asked about, using this design language.

- Component: https://kage-design-assets.t3.tigrisfiles.io/components/stripe-com/f883ce83-9776-477f-9170-0bb4400c0ec7-1789067514-6.webp
- Full page it was cut from: https://kage-design-assets.t3.tigrisfiles.io/screenshots/stripe-com/f883ce83-9776-477f-9170-0bb4400c0ec7-1789060217-full.webp
- Component on Kage: https://kage.design/component/stripe-gallery

## Before you start
Ask what the user's product is, who it serves, and what its brand personality and visual system are. Then apply the principles below to create an original version for that product—not a copy of the reference.

## Build this section
Create a high-end B2B SaaS value proposition section that explains how the product helps a specific customer segment and makes the product feel tangible through a large visual showcase.

### Structure and layout
- Use a centered, wide content container with generous horizontal padding and a thin, understated divider or section boundary.
- Begin with a two-column editorial introduction: place the primary headline and CTA in the left column, and a supporting explanatory paragraph in the right column. Keep the columns balanced but let the headline carry more visual weight.
- Add substantial vertical space between the introduction and the showcase visual.
- Make the showcase a wide, shallow-to-medium aspect-ratio panel spanning the full content width. Use a soft, vivid abstract gradient or geometric background that reflects the user's brand; do not rely on stock photography.
- Place a simplified product UI mockup inside the panel, slightly overlapping or extending toward the edges. Use layered browser/app surfaces, cards, navigation, and contextual annotation cards to communicate the product's capabilities.
- Below the showcase, use a three-column benefits grid. Each item should have a small outlined icon tile, a bold benefit statement, a short explanatory paragraph, and a compact text link with a directional chevron.
- Finish with an optional centered customer quote or proof statement, separated from the grid by generous whitespace.
- On smaller screens, stack the intro columns, make the visual full-bleed within the section, and stack the benefit items vertically while preserving clear spacing.

### Alignment and spacing
- Align all major content to one consistent container edge; use a 12-column grid or an equivalent responsive layout.
- Use approximately 32–48px horizontal gutters on desktop and 20–24px on mobile.
- Use a large section padding of roughly 96–144px vertically, 56–80px between intro and showcase, and 36–56px between the showcase and benefit grid.
- Keep benefit columns equal in width and align their icon, text, and link baselines consistently.
- Avoid dense UI: leave visible breathing room around the mockup and annotation cards.

### Typography
- Use a modern sans-serif with a neutral, highly legible tone.
- Set the primary headline around 36–48px on desktop, 30–36px on mobile, with a tight line height around 1.05–1.15 and medium weight.
- Set supporting copy around 18–20px with approximately 1.4 line height and a muted tone.
- Use benefit titles around 16–18px, with the key outcome in semibold or bold and the rest of the sentence in regular weight where appropriate.
- Use body text around 16px with 1.4–1.5 line height.
- Use links at 15–16px, semibold, and make the directional chevron visually small and closely spaced.

### Colour
- Keep the page background near white: approximately `#FFFFFF` or `#F8FAFC`.
- Use near-black navy for primary text: approximately `#172B3A` or `#0F2133`.
- Use cool slate gray for supporting text: approximately `#5D6875`.
- Use a saturated brand accent for CTA buttons and links, such as violet-blue `#635BFF`, but adapt it to the user's brand.
- Give the showcase an energetic abstract gradient using several brand-compatible colours, for example violet `#B46CFF`, magenta `#E85BCB`, warm orange `#FF9B25`, and golden yellow `#FFC83D`.
- Keep UI mockup surfaces predominantly white or very pale tinted neutrals so they remain readable against the colourful background.

### Borders, surfaces, and shape
- Use fine neutral borders around the section and UI surfaces, approximately `#E3E8EF` at 1px.
- Use modest corner radii: around 4–8px for the main showcase and cards, and 3–6px for UI controls. Avoid overly rounded, playful pills unless the user's brand calls for them.
- Add very soft shadows only to floating mockup layers and annotation cards, such as `0 8px 24px rgba(20, 35, 55, 0.10)`.
- Use an outlined square icon container with a subtle radius, light border, and small monochrome line icon.
- Make the CTA a solid accent-colour rectangle with clear contrast, medium radius, comfortable padding, and a right-pointing chevron.

### Product mockup and interaction cues
- Build the mockup from believable but generic interface primitives: a sidebar, a top bar, dashboard panels, metric cards, tables, or workflow content relevant to the user's product.
- Add two or three floating annotation cards around the mockup. Each should contain a short capability label, a one-line explanation, and a small monospace or technical detail line when appropriate.
- Keep annotations visually subordinate to the product UI and ensure they do not obscure the primary interface.
- Add subtle hover states to the CTA, text links, annotation cards, and benefit cards: slight colour shift, underline or chevron movement, and a restrained elevation change.
- If the visual is interactive, use gentle motion only: annotations can fade or translate a few pixels on hover, while respecting reduced-motion preferences.
- Ensure every interactive element has a visible keyboard focus state and sufficient colour contrast.

### Content guidance
- Write a direct headline describing the transformation or business outcome for the target customer.
- Use one short paragraph to establish credibility and explain why the product matters.
- Make the three supporting items outcome-led, such as accelerating launch, opening a new revenue stream, or reducing operational risk—but tailor these to the user's product.
- Keep each item scannable and give it a useful next action such as “Explore the guide” or “See how it works.”

## Never
- Never use logos, product names, branded marks, or recognizable copy from the reference.
- Never reproduce the exact headline, CTA labels, benefit text, customer quote, annotation text, or interface content from the reference.
- Never copy the reference's precise layout proportions, gradient artwork, dashboard design, icons, or visual assets; reinterpret the underlying design principles for the user's product.
- Never use illustrations, photography, or imagery from the reference.
- Never make the mockup decorative at the expense of clarity, accessibility, responsive behavior, or the user's own brand system.