kage
kage
fplxi.com

Design analysis
A split hero pairs a calm, conversion-focused team intake panel with a dense, credible model-results board. The surrounding navigation and live status strip establish product context while the contrasting card layouts make the primary action and analytical payoff immediately clear.
Prompt preview
## Reference images

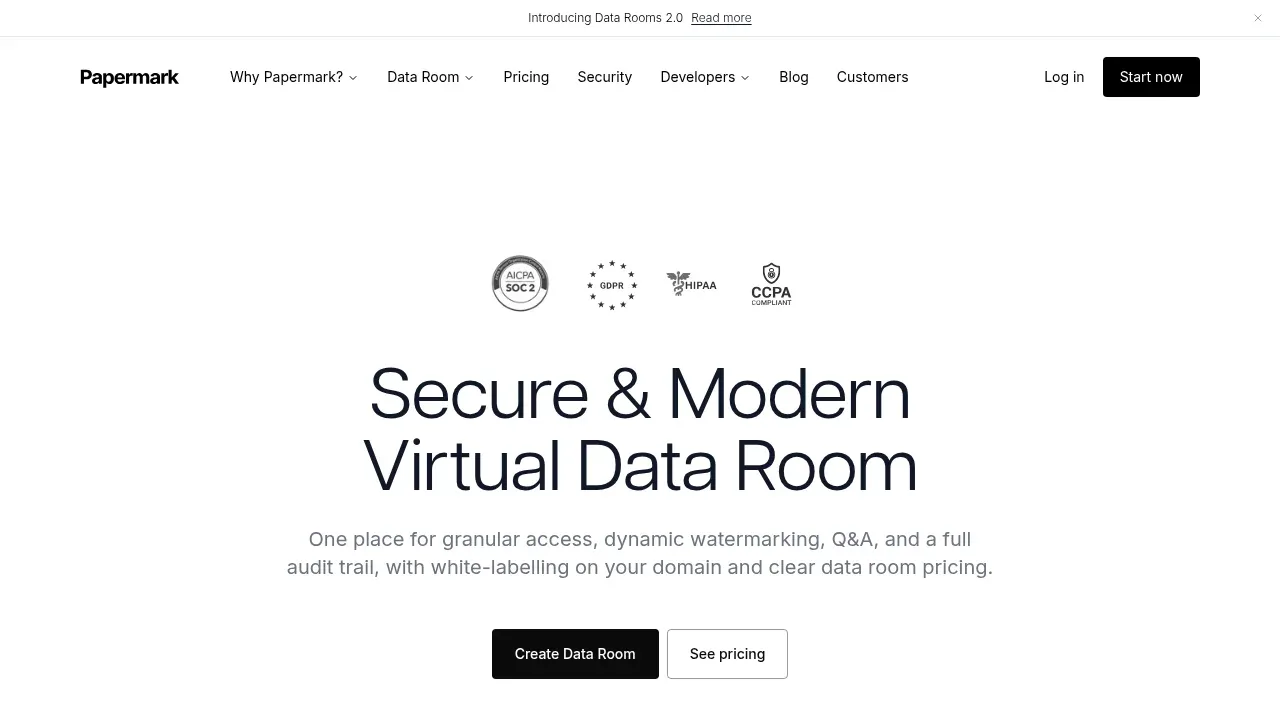
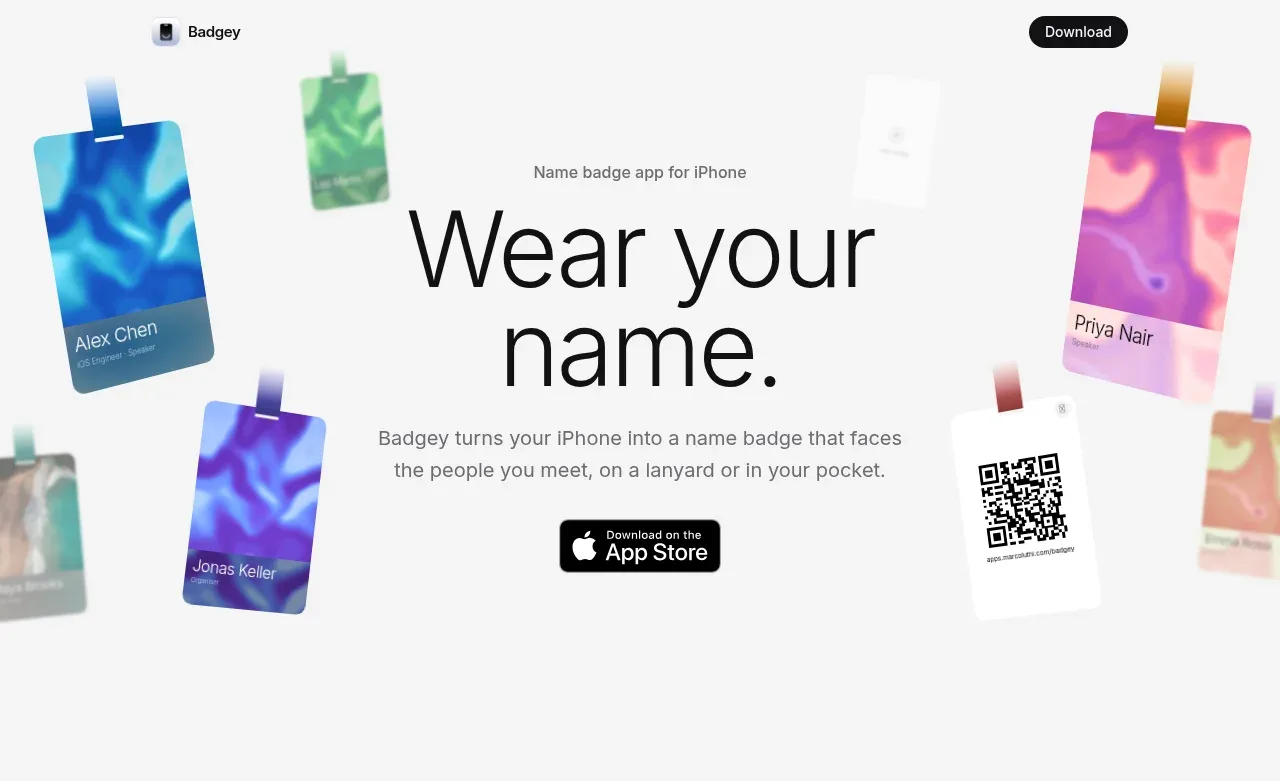
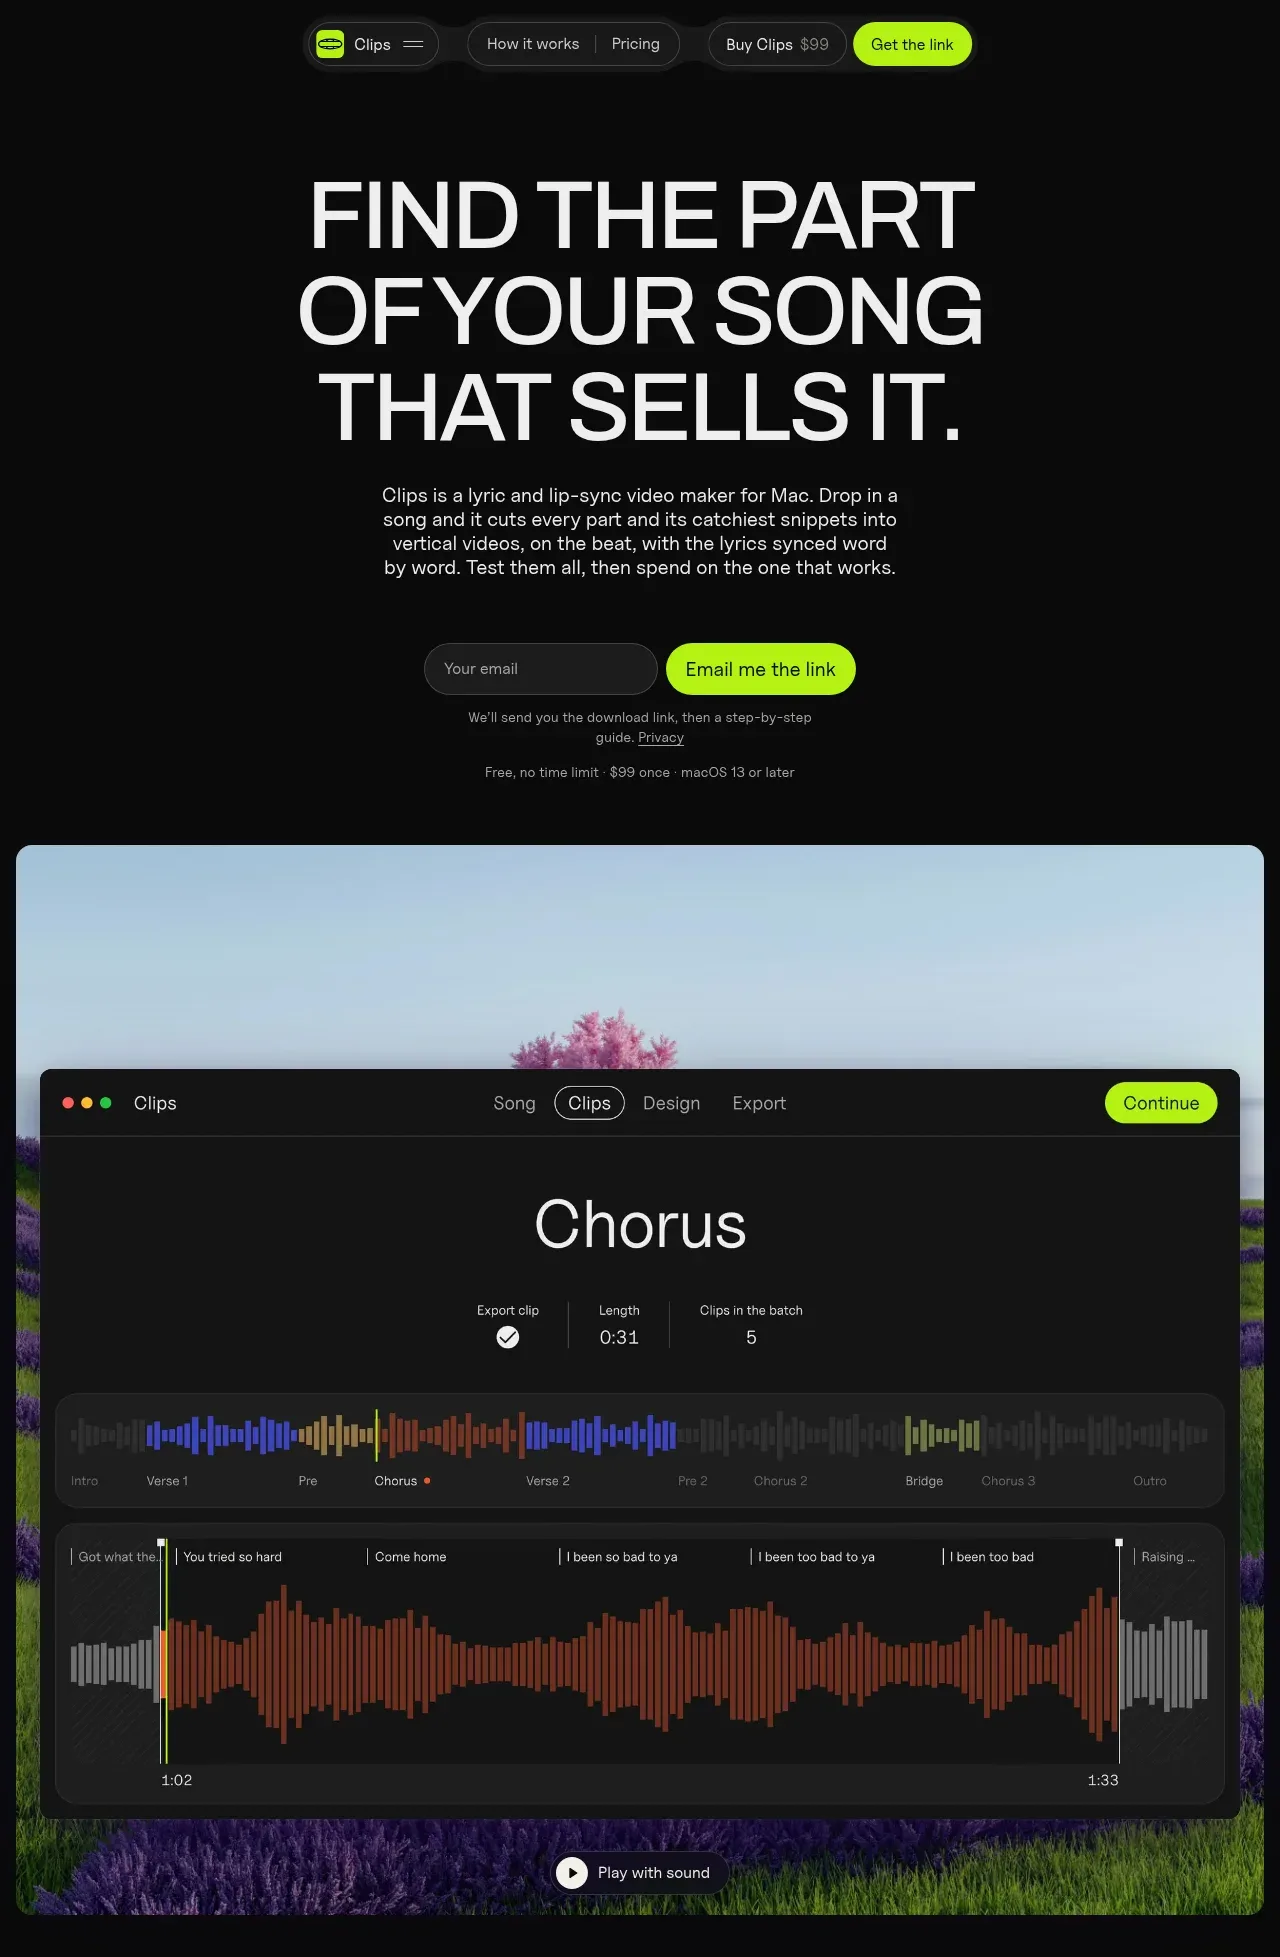
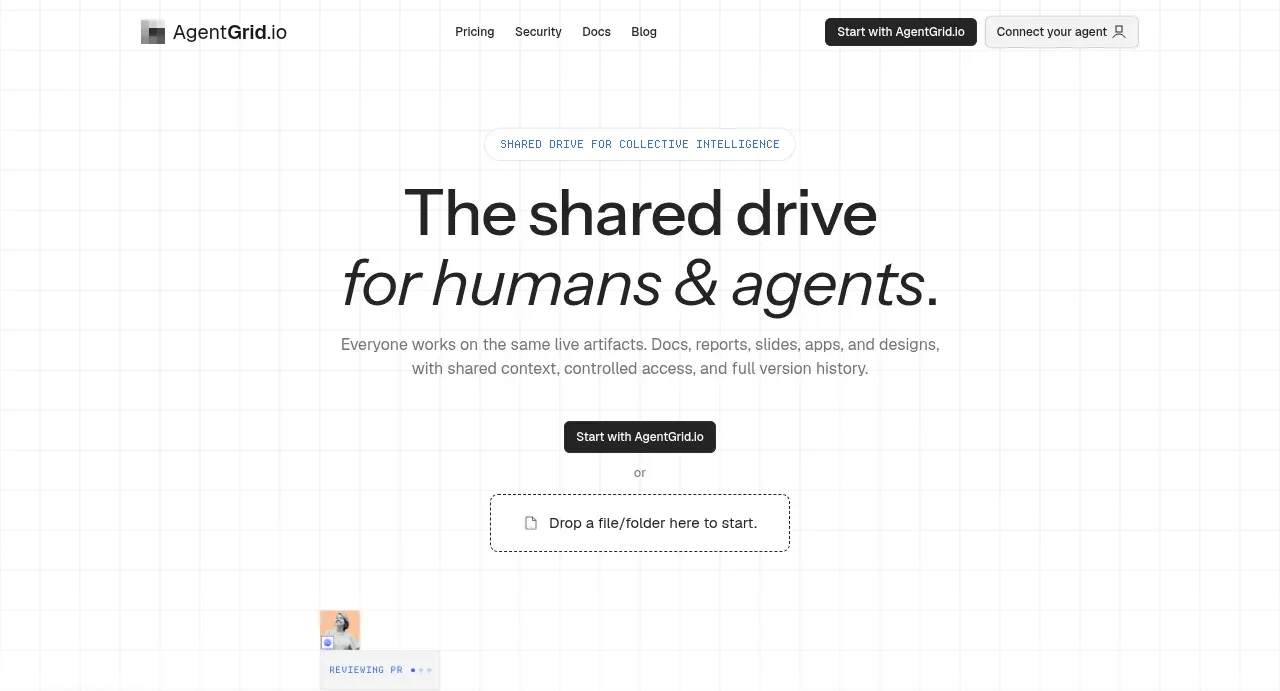
Study these alongside the description below: hierarchy, rhythm, spacing, colour. Build for the product you are asked about, using this design language.

- Component: https://kage-design-assets.t3.tigrisfiles.io/components/fplxi-com/54b8421e-1a9f-4884-bebf-8d70ddcd8ef8-1789073156-1.webp
- Full page it was cut from: https://kage-design-assets.t3.tigrisfiles.io/screenshots/fplxi-com/54b8421e-1a9f-4884-bebf-8d70ddcd8ef8-1789073135-full.webp
- Component on Kage: https://kage.design/component/fplxi-hero

## Before you start
Ask what the user's product does, who it is for, and what its brand personality and visual identity are. Then apply the principles below to create an original hero section for that product—not a copy of the reference.

## Build this component
Create a desktop-first product hero for a data-driven web application. The hero should combine a short onboarding or input flow on the left with a representative results preview on the right, so users understand both what they provide and what they will receive. It should feel like a real working product interface rather than a decorative marketing illustration.

## Design language

### Overall composition
- Use a pale, cool-tinted page background, approximately `#f1f3fb`, with a compact dark navigation pill centered near the top.
- Place a thin horizontal live-status or activity strip below the navigation. It may contain a status dot, countdown or state label, and several compact data points separated by subtle vertical rules.
- Below the strip, use a two-column hero grid with a narrow left panel and a wider right panel. A useful starting ratio is approximately 42% / 58%, with a 16–20px gap.
- Keep the hero aligned to a centered max-width container of roughly 1200–1280px. On smaller screens, stack the panels vertically and allow the activity strip to scroll horizontally or simplify into fewer items.
- Give both panels a clean white surface, a 1px border around `#e5e6e8`, a restrained shadow, and a 10–12px corner radius.

### Left intake panel
- Add a small uppercase eyebrow with generous letter spacing, around 11px, in muted gray such as `#85878d`.
- Use a large, confident headline around 40–46px on desktop, with a tight line height around 1.05–1.12. Keep the headline to two or three lines and use near-black `#17181b`.
- Follow it with a concise explanatory paragraph around 15px, 1.55 line height, in `#74767c`. Limit its width so the text remains easy to scan.
- Introduce the form with a small uppercase step indicator. Use a light divider or spacing break before the input area.
- Make the primary input row a single bordered control: a flexible text input on the left and a dark filled action button on the right. Use a 9–10px radius, clear focus treatment, and enough height for comfortable tapping—approximately 46–50px.
- Add a secondary drag-and-drop or upload zone beneath the input. Use a very light gray fill such as `#f5f5f3`, a dashed border in `#d5d6d3`, centered helper text, and a small neutral upload/camera icon inside a white square.
- Finish the card with three compact reassurance items arranged in a row where space allows. Use tiny line icons, 12–13px text, and muted gray. These should communicate speed, low friction, and trust without competing with the CTA.

### Right results panel
- Present a compact heading row: a clear title around 15–16px semibold, a smaller subtitle beneath it, and a quiet text link or control aligned to the right.
- Build a dense table-like preview with a header row and approximately 7–10 rows. Use fine horizontal rules in `#e8e8e7`, generous horizontal padding, and a restrained row height around 36–40px.
- Use small uppercase column labels around 10–11px with increased tracking and muted gray. Keep numeric columns right-aligned and player or item names left-aligned.
- Add small pastel category badges to create scannable data grouping. Use muted tones such as pale blue `#dfeef0`, pale sand `#f1e8dc`, pale lavender `#e7e1f4`, pale rose `#f3e1dd`, with darker text for contrast. Keep badges compact, rounded 5–6px, and avoid saturated colors.
- Make the primary name slightly darker and more prominent than metadata. Use secondary labels in 11–12px gray so the table stays information-dense without feeling noisy.
- Add a footer band below the table with a subtly different surface, around `#f7f7f5`, containing a short label and several compact ranked chips. This gives the preview a useful conclusion and suggests more depth in the product.

### Typography and colour
- Prefer a modern sans-serif with highly legible numerals. Use a weight range from 400 to 650; avoid heavy display weights.
- Establish hierarchy through size, weight, and contrast rather than bright colors. Use near-black `#17181b`, body gray `#73757a`, and quiet labels `#96979b`.
- Reserve the brand accent for the main CTA, active navigation state, or key status indicator. A soft periwinkle or violet accent such as `#7775e8` works well, but adapt it to the user's brand.
- Keep the interface mostly neutral so the data and primary action remain the visual focus.

### Navigation and interaction
- Use a dark charcoal navigation capsule, approximately `#202126`, with a subtle shadow and 14–16px radius. Include a compact wordmark area, a small set of links, a status/countdown chip, a sign-in action, and one rounded accent CTA.
- Give the active or primary navigation action a clear but restrained contrast. Use hover states that slightly brighten surfaces or shift the accent color; do not use dramatic motion.
- Inputs should have a visible focus ring, buttons should show hover/pressed states, and the upload zone should respond to drag-over with an accent-tinted border and background.
- Keep transitions short, around 150–200ms, and prioritize clarity over animation. Make the table preview responsive: allow horizontal scrolling or reduce secondary columns on narrow screens.

### Spacing and accessibility
- Use a spacing system based on 4 or 8px increments. Keep approximately 24px internal padding in cards, 16px between major form elements, and 8–12px between labels and controls.
- Ensure text and controls meet accessible contrast requirements, provide visible keyboard focus, use real form labels, and make the upload area keyboard operable.
- Use semantic landmarks, a real table where appropriate, responsive reflow, and touch targets of at least 44px.

## Never
- Never reuse any logos, product names, brand marks, or identifying copy from the reference.
- Never copy the reference's exact player names, values, labels, navigation text, table data, or wording.
- Never use the reference's illustrations, screenshots, imagery, or decorative assets.
- Never make the result a pixel-for-pixel recreation; adapt the structure and principles to the user's product, content, and brand.
- Never sacrifice legibility or accessibility for visual density.