 kage
kage
render.com

Design analysis
A restrained enterprise-security section combines a six-item capability grid with compact pixel-art accents and a low-friction two-button CTA. The strong whitespace, monochrome typography, and high-contrast primary action make a dense trust message feel calm and scannable.
Prompt preview
## Reference images

Study these alongside the description below: hierarchy, rhythm, spacing, colour. Build for the product you are asked about, using this design language.

- Component: https://kage-design-assets.t3.tigrisfiles.io/components/render-com/a2f1bfec-cff8-46a3-938e-5c68bed6eccd-1789073951-9.webp
- Full page it was cut from: https://kage-design-assets.t3.tigrisfiles.io/screenshots/render-com/a2f1bfec-cff8-46a3-938e-5c68bed6eccd-1789073879-full.webp
- Component on Kage: https://kage.design/component/render-cta

## Before you start
Ask what the user's product is, who it serves, and what its brand personality and visual system are. Then apply the principles below to create an original security, trust, compliance, or capability section for that product—not a copy of the reference.

## Design the section
Build a spacious, desktop-first feature section that presents several assurance or capability points above a compact CTA row. The section should feel credible, technical, and calm rather than sales-heavy.

### Layout and alignment
- Use a centered content container with a maximum width of approximately 960–1040px and generous horizontal margins.
- Arrange six feature items in a three-column grid with two rows. Keep all columns aligned to the same left edge and give each item a consistent minimum height so the rows feel orderly.
- Each feature item contains a small visual marker above a short heading and a concise explanatory paragraph.
- Place a two-button CTA row beneath the grid, aligned with the grid's left edge rather than centered.
- Leave substantial vertical space between the feature grid and the CTA, and separate this section from the next section with a thin horizontal divider.
- On smaller screens, collapse to one column or two columns depending on available width; preserve readable line lengths and stack the CTA buttons when necessary.

### Typography hierarchy
- Use a clean contemporary sans-serif with a technical, product-oriented feel.
- Feature headings should be medium-weight, approximately 18–20px desktop, with tight line-height around 1.25.
- Supporting text should be approximately 16px, line-height 1.45–1.55, and a softer gray than the headings.
- Buttons should use 15–16px medium-weight text with compact, confident labeling.
- Avoid oversized marketing headlines in this component; the grid and actions are the focus.

### Spacing
- Use approximately 28–32px between the feature marker and heading, 6–10px between heading and description, and 56–68px between grid rows.
- Keep about 64–76px between the grid and CTA row.
- Give buttons approximately 14px vertical and 24px horizontal padding, with a 16–18px gap between buttons.
- Maintain generous outer whitespace, especially above and below the component.

### Colour and visual accents
- Use a near-white background such as #FFFFFF or #FCFCFB.
- Use near-black text such as #171717 and secondary copy around #5F5F5F.
- Use one vivid brand accent for the small feature markers; a saturated violet around #7B00F5 or an equivalent colour from the user's brand works well.
- The markers can be simple square, pixel-inspired, geometric, or abstract UI symbols. They should be small and decorative, approximately 40px square, and must not dominate the content.
- Use black or very dark charcoal for the primary button and white text. Use a transparent or white secondary button with a thin dark border and dark text.
- Keep the palette intentionally limited so the component communicates trust and clarity.

### Borders, shapes, and controls
- Use square or very subtly rounded feature markers; avoid soft, playful cards.
- Buttons should have sharp corners or a restrained radius of 0–2px, with a 1px border.
- Do not place each feature inside a bordered card. Let whitespace create the grouping.
- Add a small directional arrow or chevron to button labels if it suits the user's interaction language.
- Include clear hover and keyboard-focus states: darken or invert the secondary button on hover, slightly change the primary button colour, and provide a visible focus ring.
- Ensure all controls have accessible labels and meet touch-target sizing requirements.

### Responsive and accessibility behavior
- Maintain a logical reading order: each marker, heading, and description should remain grouped.
- Use semantic headings, lists where appropriate, and real buttons or links for the CTA actions.
- Do not rely on colour alone to communicate meaning.
- Respect reduced-motion preferences; keep hover transitions subtle and short.

## Never
- Never reuse the reference's logos, product names, exact copy, illustrations, icons, or imagery.
- Never reproduce the exact arrangement as a branded page; adapt the underlying grid-and-CTA pattern to the user's product.
- Never invent compliance claims, certifications, or security guarantees without user-provided evidence.
- Never use decorative visuals that compete with the feature descriptions or make the section feel like a card dashboard.
More components

 Conversion banner
Papermark Data Rooms · Call to action
Conversion banner
Papermark Data Rooms · Call to action
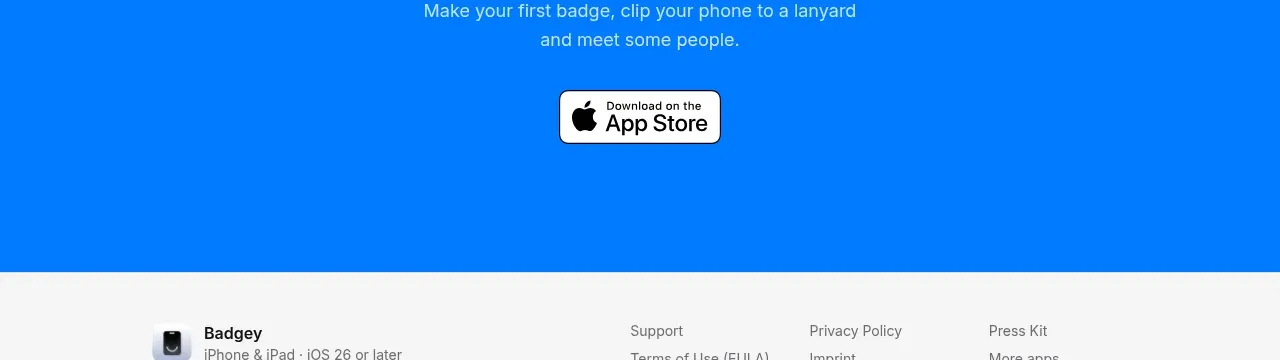
 Final download call to action
Badgey · Call to action
Final download call to action
Badgey · Call to action
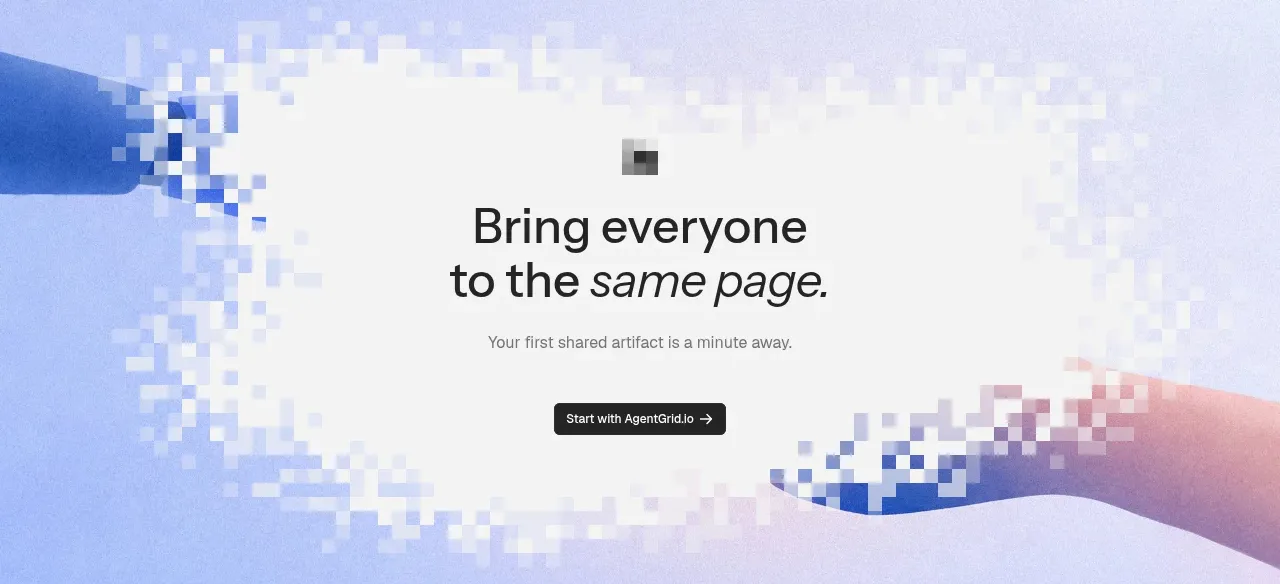
 Final signup call to action
AgentGrid.io · Call to action
Final signup call to action
AgentGrid.io · Call to action

 Final conversion call to action
Context Engine · Call to action
Final conversion call to action
Context Engine · Call to action
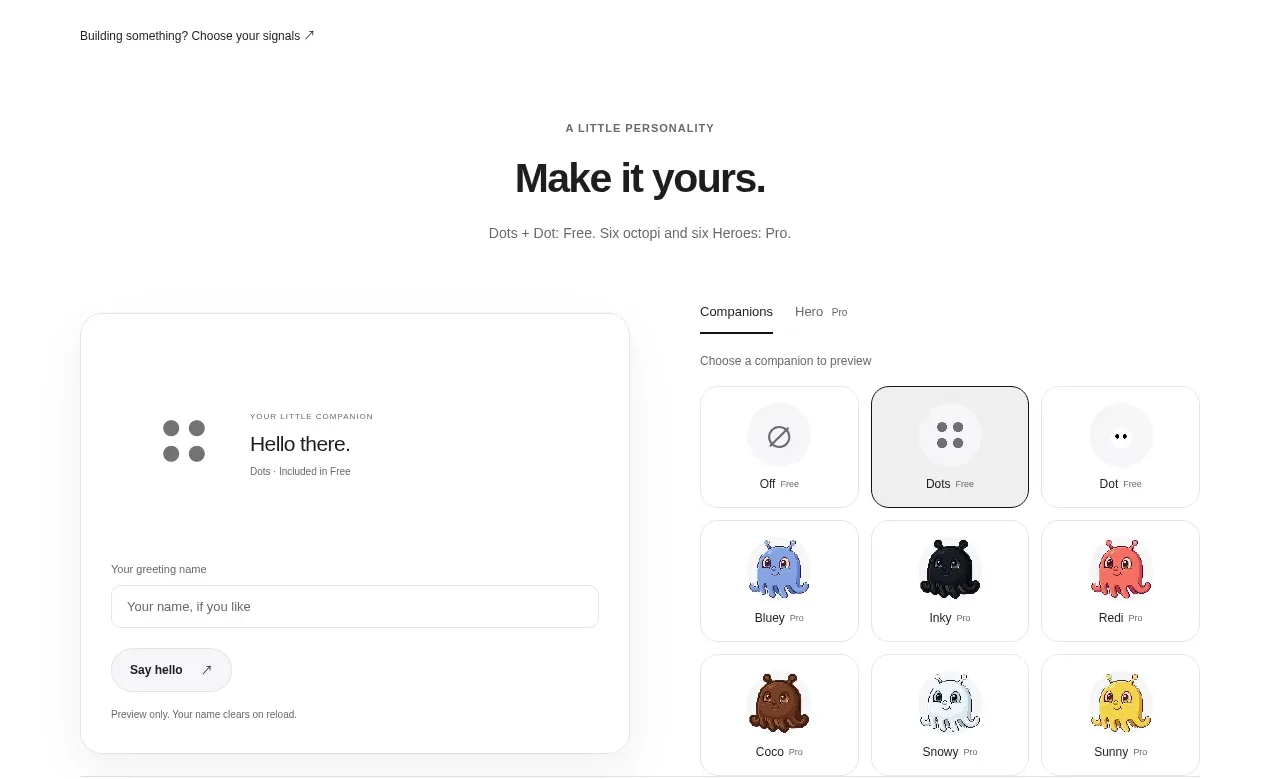
 Developer workflow callout
Dots · Call to action
Developer workflow callout
Dots · Call to action
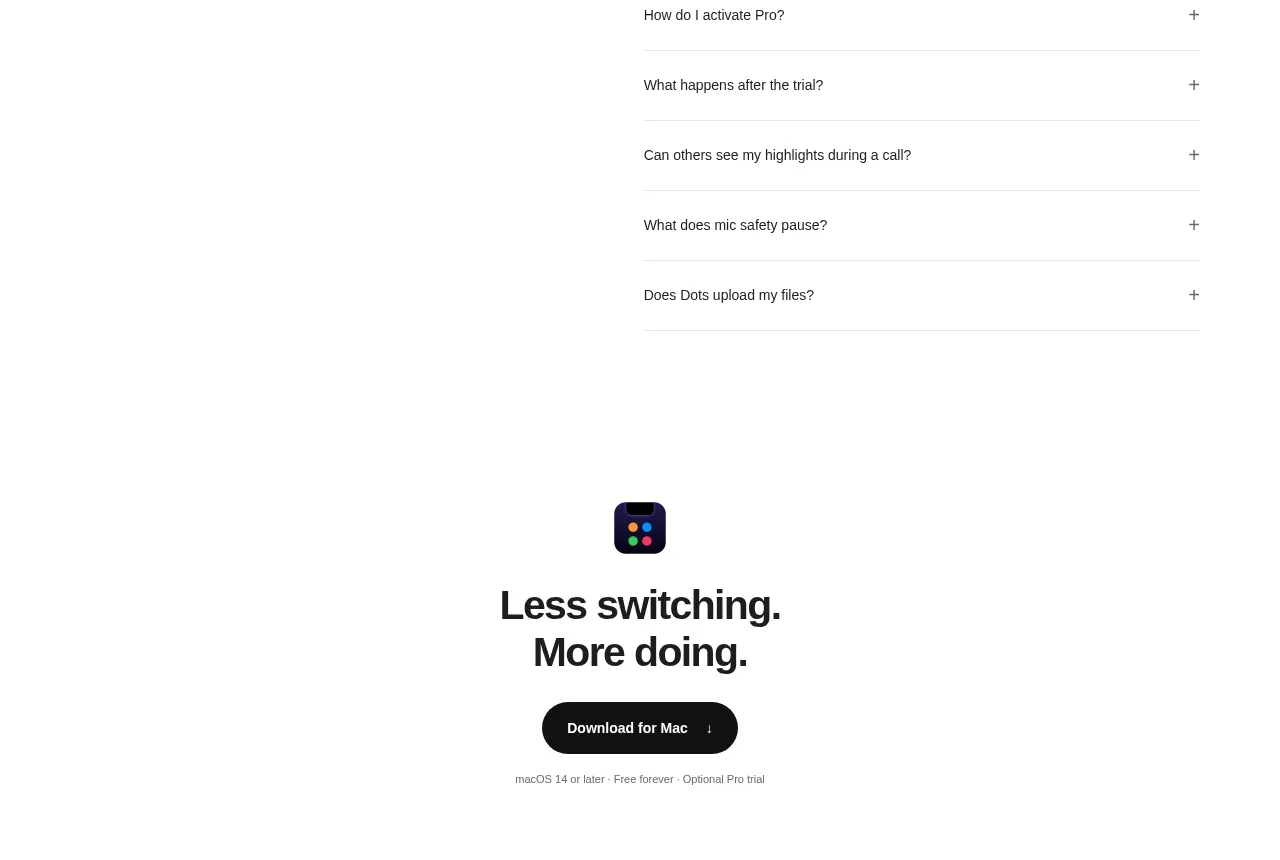 Final download CTA
Dots · Call to action
Final download CTA
Dots · Call to action